Środowisko pracy Raytracing
Wprowadzenie
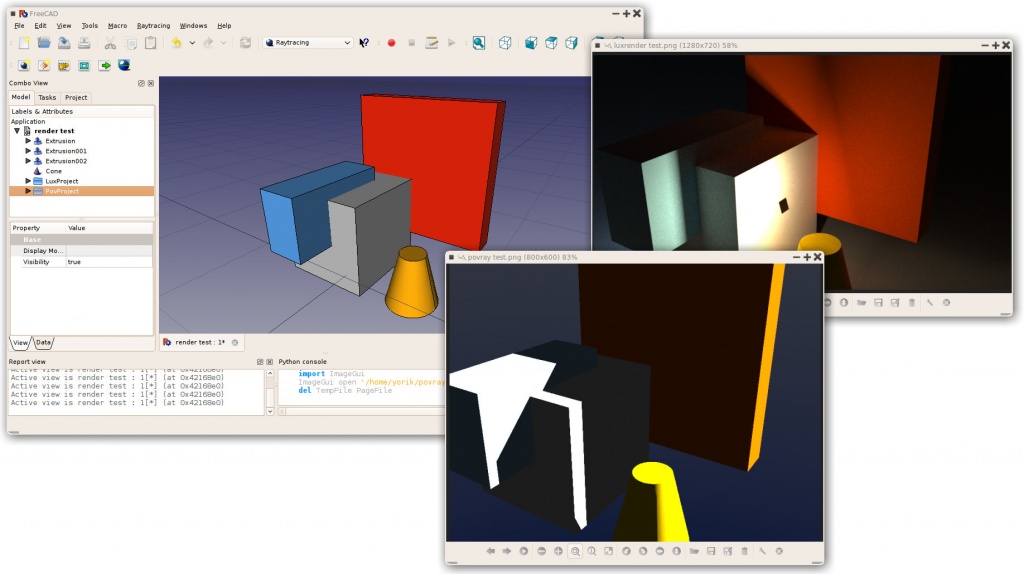
Narzędzie Środowisko pracy Raytracing służy do generowania fotorealistycznych obrazów modeli poprzez przetwarzanie ich za pomocą zewnętrznego programu renderującego.
Środowisko pracy Raytracing współpracuje z szablonami, które są plikami projektu definiującymi scenę dla Twojego modelu 3D. Można w nich umieszczać światła i geometrię, takie jak płaszczyzny podłoża, a także zawiera symbole zastępcze dla położenia kamery oraz dla informacji o materiale obiektów w scenie. Projekt może być następnie wyeksportowany do pliku gotowego do dalszej obróbki lub wyrenderowany bezpośrednio w programie FreeCAD.
Obecnie obsługiwane są dwa systemy renderowania: povray i luxrender. Aby móc renderować z poziomu FreeCAD, przynajmniej jeden z tych programów musi być zainstalowany i skonfigurowany w Twoim systemie. Jednakże, jeśli żaden renderer nie jest zainstalowany, nadal będziesz mógł wyeksportować plik projektu, który będzie renderowany w innym czasie.
Nowe Środowisko pracy Render zostało opracowane w celu wsparcia wielu back-endów, takich jak Lux Renderer i Yafaray. Z informacjami dotyczącymi korzystania z wersji deweloperskiej można zapoznać się na stronie Render. Informacje na temat statusu programowania modułu Render można znaleźć w Raytracing project.
Typowy przepływ pracy
Typowy przepływ pracy
- Utwórz lub otwórz projekt FreeCAD, dodaj kilka obiektów brył (Part Based lub PartDesign based); siatki nie są obecnie obsługiwane.
- Utwórz projekt Raytrackingu (povray lub luxrender).
- Wybierz obiekty, które chcesz dodać do projektu Raytracing i dodaj je.
- Eksportuj plik projektu lub renderuj go bezpośrednio.
Workflow of the Raytracing Workbench; the workbench prepares a project file from a given template, and then calls an external program to produce the actual rendering of the scene. The external renderer can be used independently of FreeCAD.
Narzędzia graficzne
Project tools
These are the main tools for exporting your 3D work to external renderers.
 New PovRay project: Insert new PovRay project in the document
 New LuxRender project: Insert new LuxRender project in the document
 Insert part: Insert a view of a Part in a raytracing project
 Reset camera: Matches the camera position of a raytracing project to the current view
 Export project: Exports a raytracing project to a scene file for rendering in an external renderer
 Render: Renders a raytracing project with an external renderer
Utilities
These are helper tools to perform specific tasks manually.
 Export view to povray: Write the active 3D view with camera and all its content to a povray file
 Export camera to povray: Export the camera position of the active 3D view in POV-Ray format to a file
- File:Raytracing Part.png Export part to povray: Write the selected Part (object) as a povray file
Preferences
Preferences: Preferences available in for the Raytracing tools.
Tutorials
Creating a povray file manually
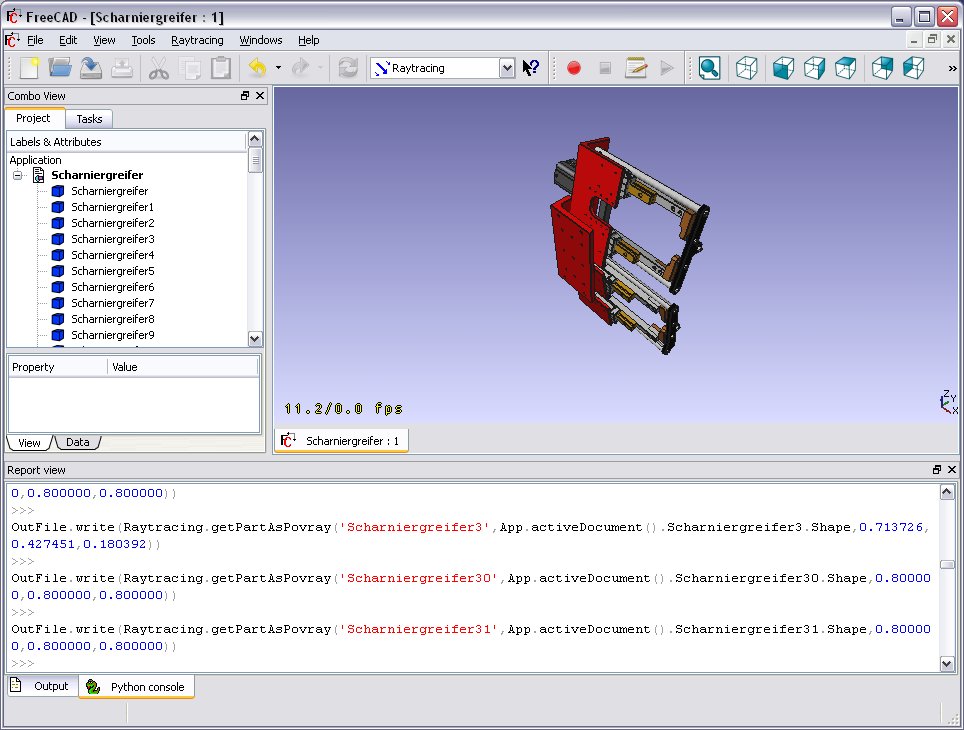
The utility tools described above allow you to export the current 3D view and all of its content to a Povray file. First, you must load or create your CAD data and position the 3D View orientation as you wish. Then choose "Utilities → Export View..." from the raytracing menu.

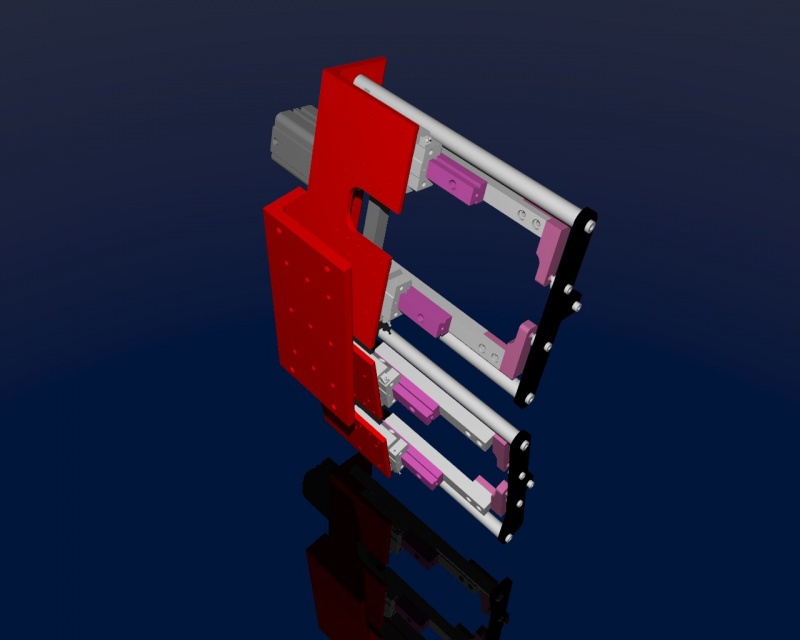
You will be asked for a location to save the resulting *.pov file. After that you can open it in Povray and render:

As usual in a renderer you can make big and nice pictures:

Skryptowanie
See the Raytracing API example for information on writing scenes programmatically.
Linki
POVRay
- http://www.spiritone.com/~english/cyclopedia/
- http://www.povray.org/
- http://en.wikipedia.org/wiki/POV-Ray
Luxrender
Future possible renderers to implement
- http://www.yafaray.org/
- http://www.mitsuba-renderer.org/
- http://www.kerkythea.net/
- http://www.artofillusion.org/
Exporting to Kerkythea
Although direct export to the Kerkythea XML-File-Format is not supported yet, you can export your Objects as Mesh-Files (.obj) and then import them in Kerkythea.
- if using Kerkythea for Linux, remember to install the WINE-Package (needed by Kerkythea for Linux to run)
- you can convert your models with the help of the mesh workbench to meshes and then export these meshes as .obj-files
- If your mesh-export resulted in errors (flip of normals, holes ...) you may try your luck with netfabb studio basic
- Free for personal use, available for Windows, Linux and Mac OSX.
- It has standard repair tools which will repair you model in most cases.
- another good program for mesh analysing/repairing is Meshlab
- Open Source, available for Windows, Linux and Mac OSX.
- It has standard repair tools which will repair you model in most cases (fill holes, re-orient normals, etc.)
- you can use "make compound" and then "make single copy" or you can fuse solids to group them before converting to meshes
- remember to set in Kerkythea an import-factor of 0.001 for obj-modeler, since Kerkythea expects the obj-file to be in m (but standard units-scheme in FreeCAD is mm)
- Within WIndows 7 64-bit Kerkythea does not seem to be able to save these settings.
- So remember to do that each time you start Kerkythea
- if importing multiple objects in Kerkythea you can use the "File → Merge" command in Kerkythea
Rozwój
- Jak zacząć
- Instalacja: Pobieranie programu, Windows, Linux, Mac, Dodatkowych komponentów, Docker, AppImage, Ubuntu Snap
- Podstawy: Informacje na temat FreeCAD, Interfejs użytkownika, Profil nawigacji myszką, Metody wyboru, Nazwa obiektu, Edytor ustawień, Środowiska pracy, Struktura dokumentu, Właściwości, Pomóż w rozwoju FreeCAD, Dotacje
- Pomoc: Poradniki, Wideo poradniki
- Środowiska pracy: Strona Startowa, Architektura, Assembly, CAM, Rysunek Roboczy, MES, Inspekcja, Siatka, OpenSCAD, Część, Projekt Części, Punkty, Inżynieria Wsteczna, Robot, Szkicownik, Arkusz Kalkulacyjny, Powierzchnia 3D, Rysunek Techniczny, Test Framework


