Part Espesor
|
|
| Ubicación en el Menú |
|---|
| Pieza → Espesor |
| Entornos de trabajo |
| Part |
| Atajo de teclado por defecto |
| Ninguno |
| Introducido en versión |
| - |
| Ver también |
| Part Offset |
Descripción
La herramienta Espesor trabaja sobre una forma sólida y la transforma en un objeto hueco, dando a cada una de sus caras un espesor definido.
Con algunos sólidos permite un ahorro de trabajo significativo, pues evita hacer extrusiones y vaciados.
Uso
- Crear un sólido
- Seleccionar una o más caras
- Pinchar sobre el botón de la herramienta
Part Espesor o Utilidad para aplicar un espesor
- Seleccionar los parámetros (ver Opciones)
- Pinchar OK para confirmar, creando la operación y saliendo de la función
- En la tabla de Propiedades, ajustar los parámetros que sean necesarios
Options
- Thickness: Wall thickness of the resulting object, set the desired value
- A positive value will offset the faces outward
- A negative value will offset the faces inward
- Mode
- Skin: Select this option if you want to get an item like a vase, headless but with the bottom
- Pipe: Select this option if you want to get an object like a pipe, headless and bottomless. In this case it may be convenient to select the faces to be deleted before you start the tool. Helping with predefined views buttons or use the numeric keys.
- RectoVerso:
- Join Type
- Arc: removes the outer edges and create a fillet with a radius equal to the thickness defined
- Tangent:
- Intersection:
- Intersection:
- Self-intersection: Enables self-intersection
- Face / Done: Select the faces to be removed, then click Done
- Update view: Automatically updates the view in real time
Limitations
Complex shapes may produce bizarre, hard to predict results. Carefully inspect the resulting shape and save your work before applying the operation.
Links
A good example on how to use this tool on the forum: Re: Help designing a simple enclosure
Examples
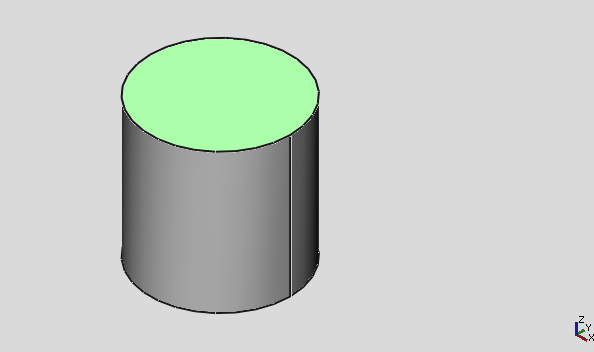
Hollow cylinder
- Create
Cylinder with radius 10mm and height 20mm
- Select the top and bottom surface of the cylinder
- Click on the
Thickness button (no need to change default settings) and press OK
Notes:
- For this shape, consider using
Tube instead introduced in version 0.19
- Select the cylinder's top surface only to create a receptacle
Box-Enclosure
- Primitives: Box, Cylinder, Sphere, Cone, Torus, Tube, Create primitives, Shape builder
- Creation and modification: Extrude, Revolve, Mirror, Fillet, Chamfer, Make face from wires, Ruled Surface, Loft, Sweep, Section, Cross sections, 3D Offset, 2D Offset, Thickness, Projection on surface, Attachment
- Boolean: Make compound, Explode Compound, Compound Filter, Boolean, Cut, Fuse, Common, Connect, Embed, Cutout, Boolean fragments, Slice apart, Slice, XOR
- Measure: Measure Linear, Measure Angular, Measure Refresh, Clear All, Toggle All, Toggle 3D, Toggle Delta
- Getting started
- Installation: Download, Windows, Linux, Mac, Additional components, Docker, AppImage, Ubuntu Snap
- Basics: About FreeCAD, Interface, Mouse navigation, Selection methods, Object name, Preferences, Workbenches, Document structure, Properties, Help FreeCAD, Donate
- Help: Tutorials, Video tutorials
- Workbenches: Std Base, Assembly, BIM, CAM, Draft, FEM, Inspection, Mesh, OpenSCAD, Part, PartDesign, Points, Reverse Engineering, Robot, Sketcher, Spreadsheet, Surface, TechDraw, Test Framework
- Hubs: User hub, Power users hub, Developer hub


