Tutorials/hr: Difference between revisions
(Updating to match new version of source page) |
(Updating to match new version of source page) |
||
| Line 83: | Line 83: | ||
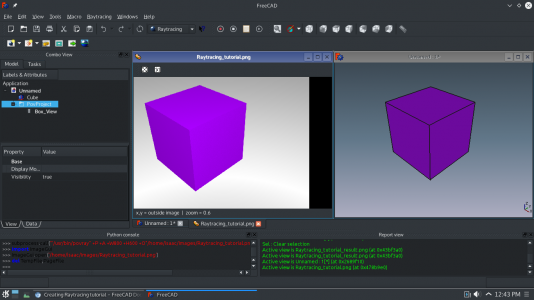
Raytracing tutorial result.png|link=[[Raytracing tutorial]]|[[Raytracing tutorial]] (v0.16) <br/>Describes the basic workflow of the Raytracing Workbench using POV-Ray or LuxRender: set the path to the renderers, create a project, set the camera position, select the model, run the renderer. |
Raytracing tutorial result.png|link=[[Raytracing tutorial]]|[[Raytracing tutorial]] (v0.16) <br/>Describes the basic workflow of the Raytracing Workbench using POV-Ray or LuxRender: set the path to the renderers, create a project, set the camera position, select the model, run the renderer. |
||
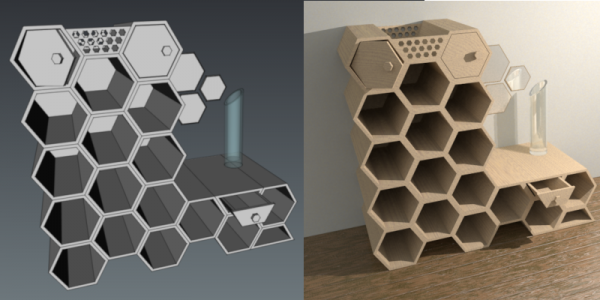
Povray_before_after.png|link=[http://forum.freecadweb.org/viewtopic.php?f=36&t=32745]|[https://forum.freecadweb.org/viewtopic.php?f=36&t=32745 FreeCAD / pov ray tutorial] (v0.18) <br/>Workflow to produce a better render with POV-Ray: create a project, select objects, set the camera, save the .pov file, manually edit the file to improve the information on textures, planes, camera, lights, and then run the renderer from the command line. |
Povray_before_after.png|link=[http://forum.freecadweb.org/viewtopic.php?f=36&t=32745]|[https://forum.freecadweb.org/viewtopic.php?f=36&t=32745 FreeCAD / pov ray tutorial] (v0.18) <br/>Workflow to produce a better render with POV-Ray: create a project, select objects, set the camera, save the .pov file, manually edit the file to improve the information on textures, planes, camera, lights, and then run the renderer from the command line. |
||
07_T03_FreeCAD_Blender_EEVEE_render.png|link=[[Tutorial_Render_with_Blender]]|[[Tutorial Render with Blender|Rendering a FreeCAD assembly with Blender]] (v0.18) <br/>Export bodies from FreeCAD to Wavefront .obj, import them into Blender, set up a simple Sun light, assign basic materials with the Principled BSDF shader, and produce a rendered image with EEVEE and Cycles |
|||
</gallery> |
</gallery> |
||
Revision as of 09:14, 27 April 2019
Ova stranica predstavlja izbornik napisanih vježbi visoke kvalitete koja još nije gotova, nesortirana lista vježbi se može ovdje naći Upute.
Vi možete pogledati na Vanjske Upute i Video Upute koji su linkovi na vanjske web stranice. Koristan izvor video vježbi je na YouTube,upišite FreeCAD u tražilicu.
If you'd like to contribute with writing wiki documentation and tutorials, see the general wiki guidelines in WikiPages, and read the tutorial guidelines.
Please notice the version of FreeCAD used in the tutorial as some tutorials may use an old version of the program. Although the general modelling process may still work, some tools may have changed.
Arhitektura i projektiranje zgrada [BIM]
-
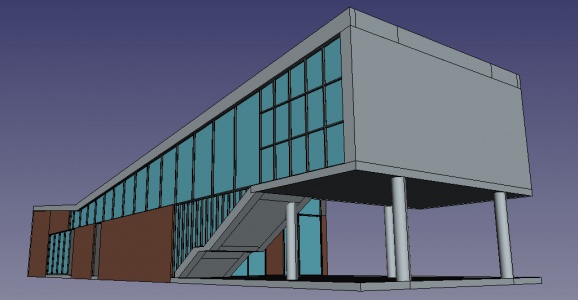
Arch tutorial (v0.14)
This is the essential introduction to the Arch Workbench. It is extensive and showcases a typical workflow, from importing plans in DXF format to building the 3D model. -
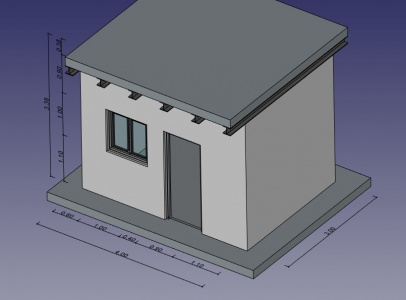
BIM modeling
How to model a small house, produce a blueprint with TechDraw, and export to IFC. -
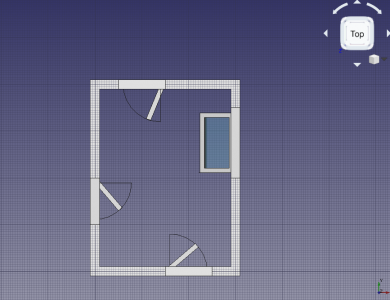
Open windows and doors (v0.18)
How to display windows and doors as open, with elevation and plan symbols, and produce a basic floor plan with TechDraw. -
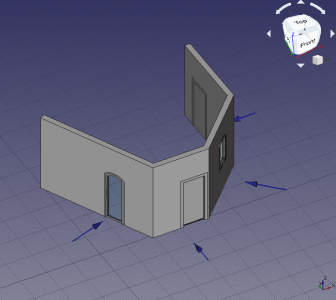
Design custom windows (v0.18)
How to draw custom doors and windows using the Sketcher, and adjust their normals to correctly place them in walls. -
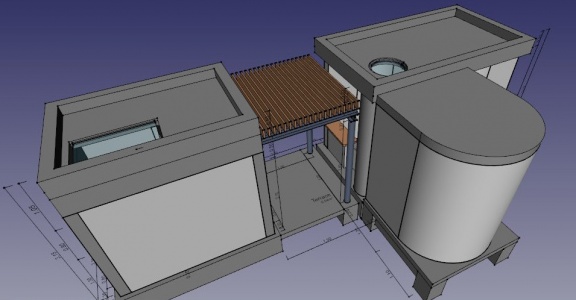
Arch panel tutorial (v0.15)
Modeling a microhouse roof panel by using the Sketcher, the Window tool, and the Panel tool. -
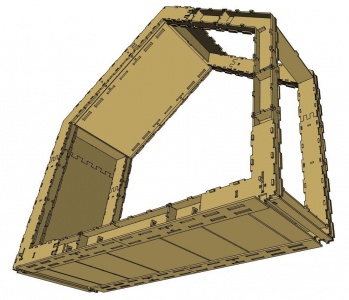
WikiHouse modelling
Re-modeling the WikiHouse project using sketches and panels, starting from importing a mesh model created in SketchUp.
Modeliranje dijelova
FreeCAD provides two main workflows to modeling parts:
- combining objects, a method called constructive solid geometry (CSG) using the Part workbench, and
- using parametric modelling and feature editing with the PartDesign Workbench.
Please note that the PartDesign Workbench workflow was considerably changed from FreeCAD 0.17 onward; some of the tutorials haven't been updated and may refer to the 0.16 version.
-
Creating a simple part with PartDesign (v0.17)
An introduction to the PartDesign workflow: tracing a sketch, using pad, pocket, and moving the object. -
Basic Part Design Tutorial (v0.17)
Model a simple part using a feature editing methodology: creating a sketch, using pad, external references, pocket, and mirror. -
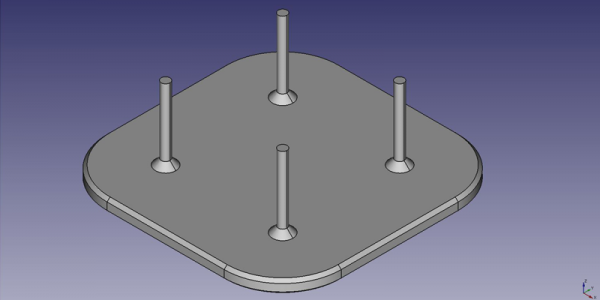
Model an electric toothbrush head stand (v0.16)
Multiple features used: sketch, distance and coincident constraints, pad, external references, fillet, chamfer, linear pattern, and draft. -
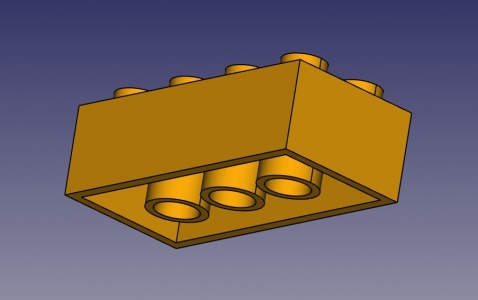
Modeling for product design (v0.16)
Modeling a Lego block: sketches, vertical and horizontal distance constraints, pad, pocket, external reference, linear pattern, and assembly. -
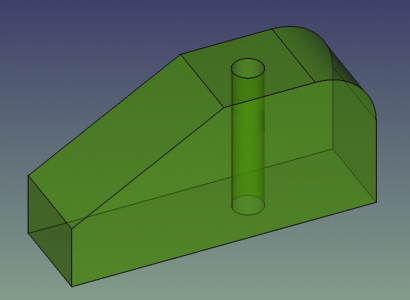
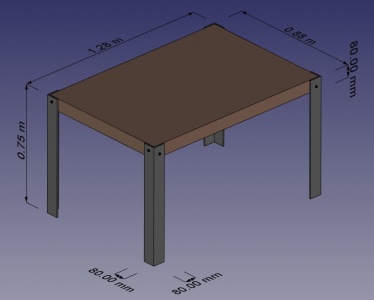
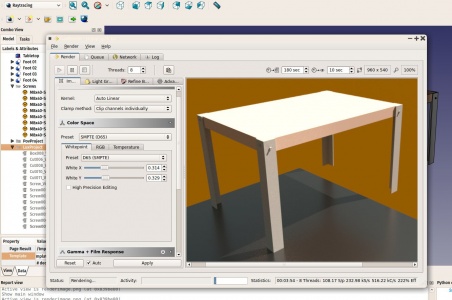
Traditional modeling, the CSG way
Modeling a table by using simple solids like cubes and cylinders, and performing boolean operations (fusions and cuts) with them. -
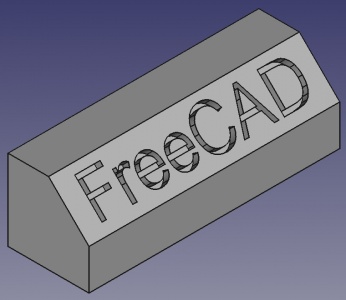
Draft ShapeString tutorial (v0.16)
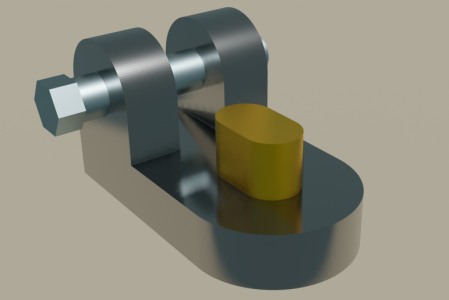
Create engraved text on a solid: extrude a shapestring to make it solid, then use a boolean cut to carve it from another solid. -
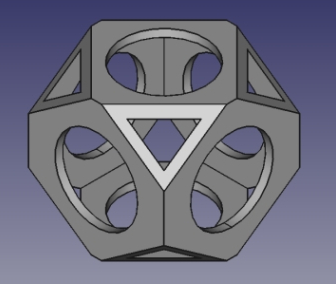
Create a wiffle ball (v0.16)
Use solid primitives, like cubes and cylinders, and boolean operations, like union and cut, to create a hollowed ball. -
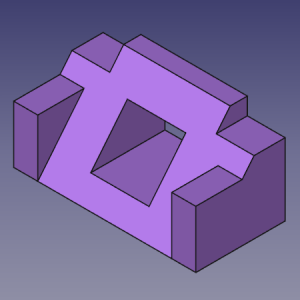
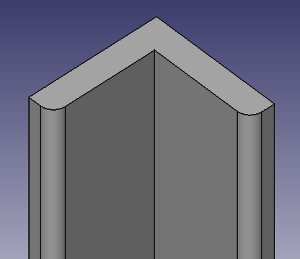
Basic modeling tutorial
Create an iron angle by two methods: using solid primitives, and boolean operations (CSG); and by extruding a planar profile.
Drafting and Sketching
-
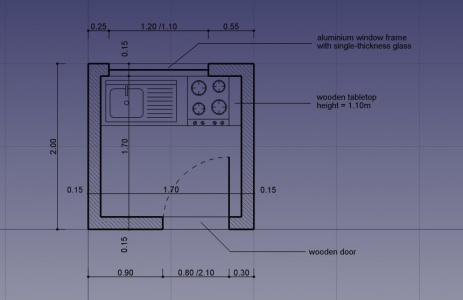
Traditional 2D drafting
Draw a floor plan with lines, wires, rectangles, circular arcs, and add hatch patterns, annotations, and dimensions. Export the result to DXF. -
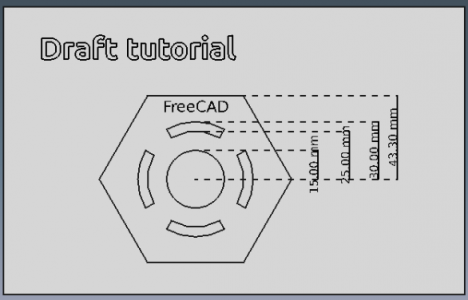
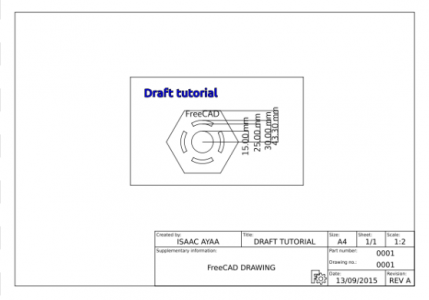
Draft tutorial (v0.16)
This is a basic introduction to the tools of the Draft Workbench: working plane, grid, line, arc, upgrade, rectangle, circle, polygon, arrays, dimensions, annotations, and shapestring. -
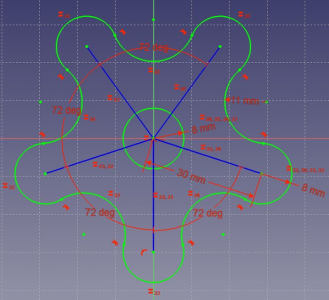
Sketcher tutorial (v0.16)
This is a basic introduction to the tools of the Sketcher Workbench: construction mode, line, circle, arc, constraints (equality, vertical, horizontal, tangential, distance, angle, radius). -
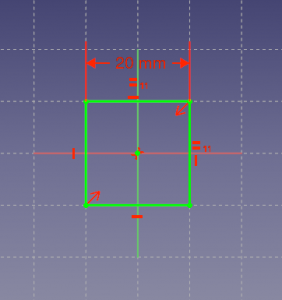
Sketcher micro tutorial (v0.16)
Learn to efficiently constrain a sketch. Prefer geometric constraints over dimensional constraints.
Tehničko Crtanje
-
Basic TechDraw Tutorial (v0.17)
This is the essential introduction to the tools of the TechDraw Workbench: page, view, scale, vertical and horizontal dimensions, annotations, projection groups, linking dimensions to the 3D view. -
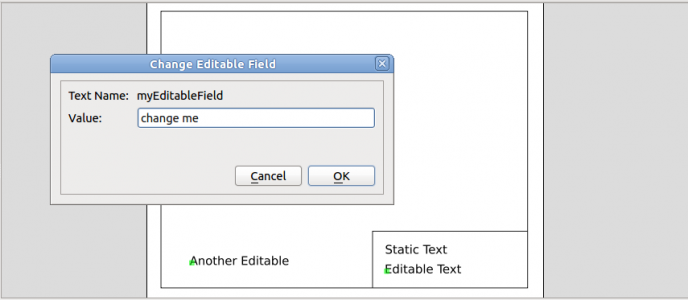
Creating a new background template (v0.17)
Instructions to create a page template in Inkscape for using it with the TechDraw Workbench. Determine the size of the sheet, draw a frame for the page, define fixed text, and editable text fields.
FEM
-
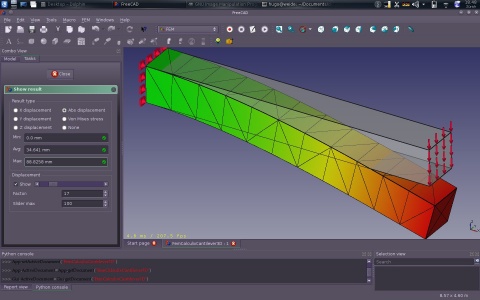
CalculiX cantilever FEM analysis (v0.17)
This in an example included in every installation of FreeCAD; it demonstrates a basic analysis with the CalculiX FE solver. Purge the current result, re-run the solver, and view the displacements and stresses in the deformed mesh in the viewport. -
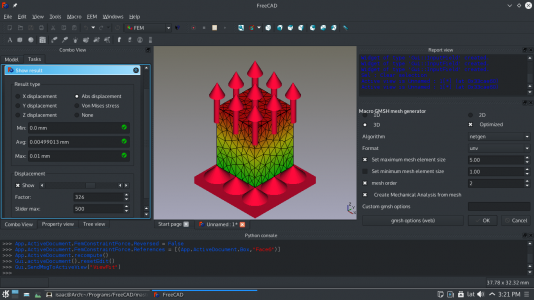
Simple FEM introduction (v0.17)
This is a short introduction to the steps required to perform an analysis in the FEM Workbench: model your object, create a mesh, add constraints and forces, add a material, run the solver, and visualize the results. -
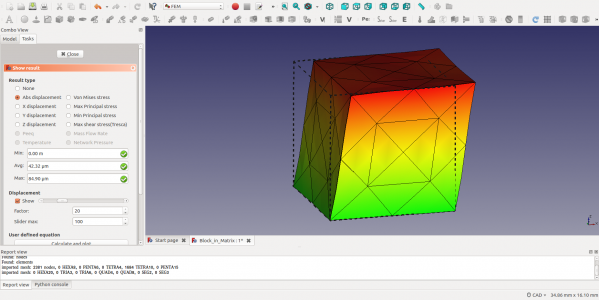
FEM shear analysis of a composite block (v0.17)
Study the deformation of a block made of a hard nucleus surrounded by a softer material: create mesh regions, add materials, set up sliding constraints, add shear loads, run the solver, and visualize the results with a clip plane.
CNC & 3D Printanje
-
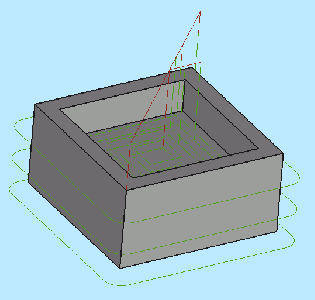
Path Workbench for the impatient
This is a quick presentation of the workflow for the Path Workbench: create a job, define the output, define the milling tool, define the path operations, start the simulation, and generate a G-code output file. -
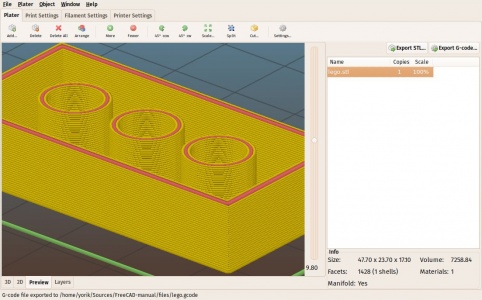
Preparing models for 3D printing (v0.16)
Convert a solid object to a mesh object using the Mesh Workbench, export the mesh to STL format, and use Slic3r to prepare the G-code. Alternatively use the Cura Workbench or the Path Workbench to generate the G-code.
Uvoz i Izvoz
-
DXF importer installation
Install the DXF importer program in you system, so that you can open DXF and DWG files with FreeCAD.
Iscrtavanje
-
Creating renderings
Quickly produce a rendered image of your bodies with POV-Ray and LuxRender, if they are installed in your system. -
Raytracing tutorial (v0.16)
Describes the basic workflow of the Raytracing Workbench using POV-Ray or LuxRender: set the path to the renderers, create a project, set the camera position, select the model, run the renderer. -
FreeCAD / pov ray tutorial (v0.18)
Workflow to produce a better render with POV-Ray: create a project, select objects, set the camera, save the .pov file, manually edit the file to improve the information on textures, planes, camera, lights, and then run the renderer from the command line. -
Rendering a FreeCAD assembly with Blender (v0.18)
Export bodies from FreeCAD to Wavefront .obj, import them into Blender, set up a simple Sun light, assign basic materials with the Principled BSDF shader, and produce a rendered image with EEVEE and Cycles
Robot simulacija
-
Robot tutorial/hr
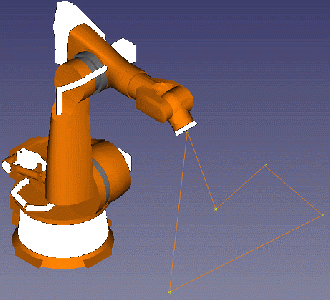
Robot simulacija pokretanja.
Plotting
-
Basic plot
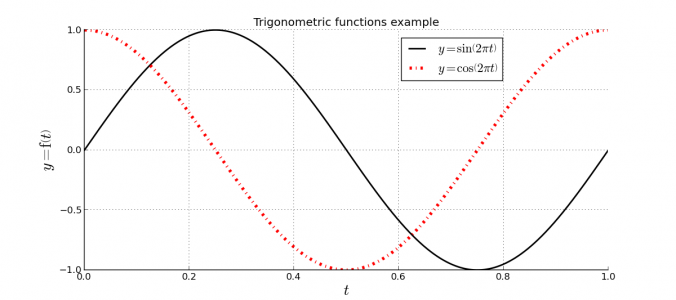
Draw simple mathematical functions in the Plot Workbench using the underlying Python plotting libraries: define the input list (X), two output lists (Y1, Y2), plot the functions (Y1 and Y2 against X), set the grid, line styles, legends, axes labels, plot title, and save the plot. -
Multiaxes plot
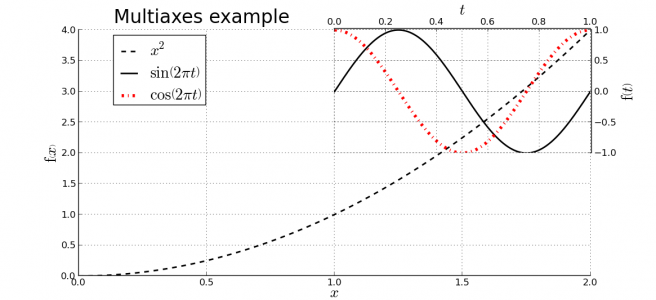
Draw a more complicated plot in the Plot Workbench with two different input lists (X, T), and three output lists (Y1, Y2, Y3), then create two sets of axes in the same plot, and plot the pairs of lists (Y1 against X, and Y2 and Y3 against T); set the axes labels and grid, and move the legends and title.
Drawings
-
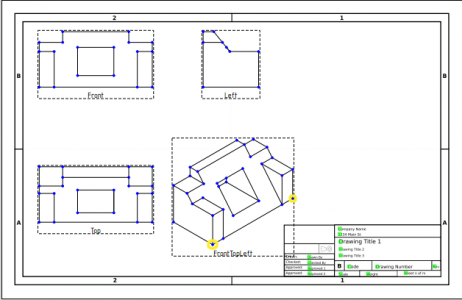
Drawing tutorial (v0.16)
This is the essential introduction to the tools of the Drawing Workbench to create blueprints. -
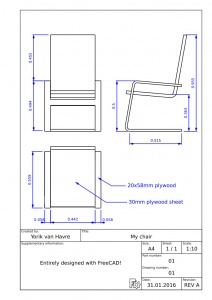
Generating 2D drawings (v0.16)
Generate 2D projections of your 3D models, and add dimensions.
