SheetMetal AddWall
This documentation is not finished. Please help and contribute documentation.
GuiCommand model explains how commands should be documented. Browse Category:UnfinishedDocu to see more incomplete pages like this one. See Category:Command Reference for all commands.
See WikiPages to learn about editing the wiki pages, and go to Help FreeCAD to learn about other ways in which you can contribute.
|
|
| Menu location |
|---|
| SheetMetal → Make Wall |
| Workbenches |
| SheetMetal |
| Default shortcut |
| W |
| Introduced in version |
| - |
| See also |
| None |
Description
The SheetMetal AddWall command creates a bend on a selected edge.
Usage
To add a Bend:
- Switch to the
SheetMetal Workbench.
- Start with a base plate or sheet, select one or more edges to receive a bend.
- Click on the
Bend tool to add a bend.
Note: To create a base plate use a closed 2D outline - preferably a Sketch - with the
Make Base Wall command.
Alternatively you can generate a base plate with one of the following methods as well:
- Method 1:
Part Cube
- Method 2: An extruded solid made with
Part Extrude from either a:
Draft Rectangle or a
Draft Wire or a
Sketch
- Use
Part Thickness to create shell (Typically with the thickness value of the sheet metal.)
- Method 3:
PartDesign Body containing either an
additive box or a
PartDesign Pad made from a
Sketch.
- Use
PartDesign Thickness to create shell (Typically with the thickness value of the sheet metal.)
- Method 1:
Properties
Data
Base
- DataLabel: User name of the object in the Tree view.
Parameters
- Dataangle: Bend angle.
- Dataextend1: Extends the wall on the left side.
- Dataextend2: Extends the wall on the right side.
- Datagap1: Gap from the left side.
- Datagap2: Gap from the right side.
- Datainvert: Invert bend direction.
- Datalength: Length of the wall.
- Datamiterangle1: Bend miter angle on the left side.
- Datamiterangle2: Bend miter angle on the right side.
- Dataradius: Bend radius.
- Datarelief Type: Rectangle or Round. Enabled only when a gap value is set.
- Datareliefd: Relief depth. Enabled only when a gap value is set.
- Datareliefw: Relief width. Enabled only when a gap value is set.
- Datakfactor: K factor (also known as neutral factor) for the bend. Used to calculate bend allowance when unfolding.
- Dataunfold: False (default) or True. If true, unfolds the bend.
Example
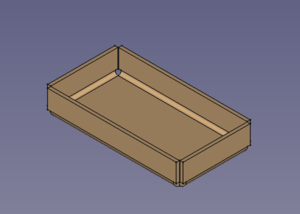
A simple tray
Preparation
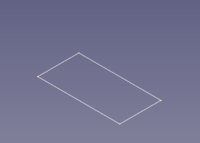
This tray is made of a rectangular blank with walls added to its outline edges. And so one outline sketch for the blank has to be prepared in advance.
Just a rectangular outline
Workflow
- Create a blank
- Select the outline sketch
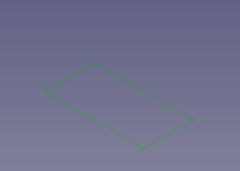
- Press the
Make Base Wall button
or use the keyboard shortcut: C then F
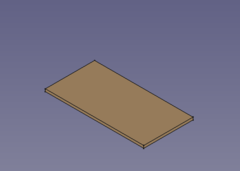
(The blank is padded in z direction
- Select the outline sketch
- Add walls to the outline edges
- Select the blank's outline edges
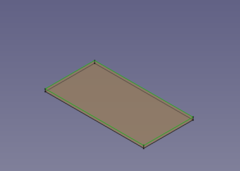
- Press the
Make wall button
or use the keyboard shortcut: W
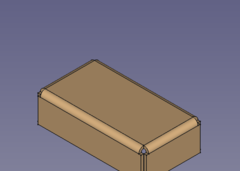
- If the fold is 90° down set the value of invert property to true to reverse the direction (and length to a lower value for smaller walls)
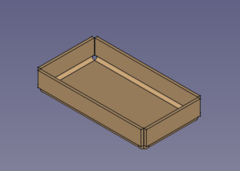
- Select the blank's outline edges
- Add some more walls
- Select the tray's upper outside edges
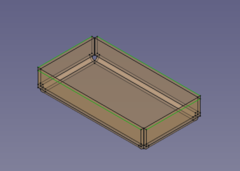
- Press the
Make wall button
or use the keyboard shortcut: W
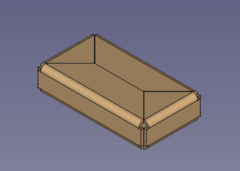
- The walls are a bit too long (but nicely trimmed) and so the length property has to be set to a lower value
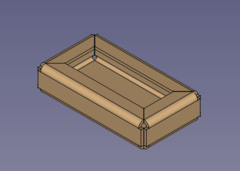
- If you like the folds swing outward set the invert value to true
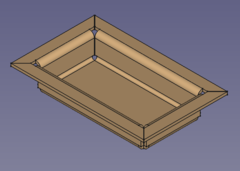
- Select the tray's upper outside edges
Done!

