Render Workbench/es: Difference between revisions
(Created page with "Actualmente se admiten seis motores de renderizado: * LuxCoreRender * Appleseed * Cycles (versión standalone) * Pov-Ray * Intel Ospray Studio * Pbrt-v4 (experimental)") |
(Created page with "== Uso ==") |
||
| Line 49: | Line 49: | ||
* Pbrt-v4 (experimental) |
* Pbrt-v4 (experimental) |
||
<span id="Usage"></span> |
|||
<div lang="en" dir="ltr" class="mw-content-ltr"> |
|||
== |
== Uso == |
||
</div> |
|||
<div lang="en" dir="ltr" class="mw-content-ltr"> |
<div lang="en" dir="ltr" class="mw-content-ltr"> |
||
Revision as of 16:24, 26 March 2024

Introducción
El entorno de trabajo Render le permite producir imágenes de alta calidad a partir de modelos FreeCAD, utilizando motores de renderizado externos de código abierto.
-
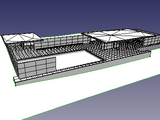
Pabellón de Barcelona
Captura de pantalla -
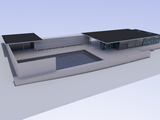
Pabellón de Barcelona
Renderizado con Povray -
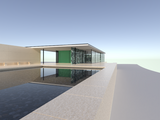
Pabellón de Barcelona
Cycles rendering -
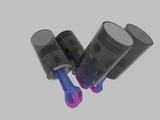
Asm V4
Captura de pantalla -
Asm V4
Renderizado con LuxCore -
Asm V4
Renderizado con Ospray -
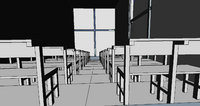
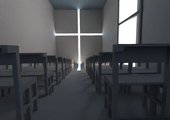
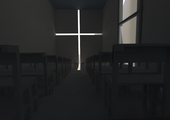
Iglesia de la luz
Captura de pantalla -
Iglesia de la luz
LuxCore rendering -
Iglesia de la luz
Renderizado con Cycles -
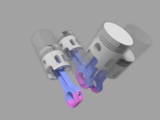
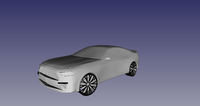
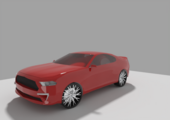
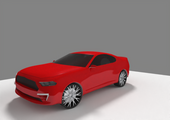
Carro
Captura de pantalla -
Carro
Renderizado con Ospray -
Carro
Renderizado con LuxCore -
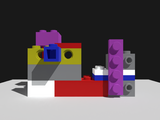
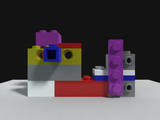
Ensamblaje de ladrillos
Captura de pantalla -
Ensamblaje de ladrillos
Renderizado con Appleseed -
Ensamblaje de ladrillos
Renderizado con Luxcore -
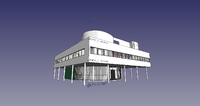
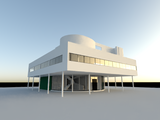
Villa Savoye
Captura de pantalla -
Villa Savoye
Renderizado con Appleseed -
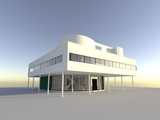
Villa Savoye
Renderizado con Cycles
Render, un entorno de trabajo puro de Python, se integra perfectamente en FreeCAD: toda la escena de renderizado (objetos, iluminación, materiales, cámara, etc.) se puede describir con objetos de FreeCAD para exportarlos a renderizadores externos.
En comparación con otros enfoques basados en aplicaciones de gráficos por computadora de terceros, Render tiene como objetivo:
- Evitar que el usuario aprenda otro software de gráficos 3D/por computadora: todo lo que necesita saber está en FreeCAD.
- Simplificar el flujo de trabajo de renderizado y liberar al usuario de cualquier manipulación de archivos intermediarios, como de importación, exportación, retoque de escenas, etc.
- Hacer que la configuración de la escena sea persistente y, especialmente, evitar el retrabajo en una herramienta externa cada vez que se modifica el modelo.
Renderizadores soportados
Actualmente se admiten seis motores de renderizado:
- LuxCoreRender
- Appleseed
- Cycles (versión standalone)
- Pov-Ray
- Intel Ospray Studio
- Pbrt-v4 (experimental)
Uso
In quick-start mode, after workbench installation has correctly been done, rendering a FreeCAD model is just a 4-step process:
- Create a rendering project: Press the button in the toolbar corresponding to your renderer and select a template suitable for your renderer (you may start with a 'studio' flavour, like appleseed_studio_light.appleseed, cycles_studio_light.xml, luxcore_studio_light.cfg, povray_studio_light.pov etc.).
- Add views of your objects to your rendering project: Select both the objects and the project, and press the Add view button.
- Set your point of view: Navigate in the 3D View to the desired position and switch to perspective mode.
- Render: Select your project and press the Render button in toolbar (also available from project's context menu).
And you should get a first rendering of your model.
More instructions can be found in the GitHub repository or the online help.
Features
Features include, but are not limited to:
- Lighting: point lights, area lights, sun-sky and preset lighting templates.
- Cameras.
- Material management (using usual shaders: matte, glossy, glass, principled etc.) including textures.
- Batch mode / UI mode.
- Denoiser.
- Halt condition (sample per pixel).
- Meshing control: angular and linear deflections, auto-smoothing.
Links
More info? Just follow the link: https://github.com/FreeCAD/FreeCAD-render
- Getting started
- Installation: Download, Windows, Linux, Mac, Additional components, Docker, AppImage, Ubuntu Snap
- Basics: About FreeCAD, Interface, Mouse navigation, Selection methods, Object name, Preferences, Workbenches, Document structure, Properties, Help FreeCAD, Donate
- Help: Tutorials, Video tutorials
- Workbenches: Std Base, Arch, Assembly, CAM, Draft, FEM, Inspection, Mesh, OpenSCAD, Part, PartDesign, Points, Reverse Engineering, Robot, Sketcher, Spreadsheet, Start, Surface, TechDraw, Test Framework, Web
- Hubs: User hub, Power users hub, Developer hub
