Руководство: Создание визуализаций
- Введение
- Открываем для себя FreeCAD
- Работа с FreeCAD
- Все верстаки одним взглядом
- Традиционное моделирование методом КБГ
- Традиционное двумерное черчение
- Моделирование для проектирования продукта
- Подготовка для объёмной печати
- Создание двумерных чертежей
- Моделирование BIM
- Использование электронных таблиц
- Создание анализа методом конечных элементов
- Визуализация проекта
- Написание скриптов на Python
- Сообщество
В разговорах компьютерщиков рендеринг означает красивое изображение, получаемое из трёхмерной модели. Разумеется, мы можем сказать что трёхмерный вид FreeCAD уже красив. Но всякий, кто видел современные голливудские картины, знает, что с помощью компьютера возможно создавать изображения, которые почти неотличимы от фотографий.
Разумеется, создание таких фотореалистичных изображений требует большой работы, и приложений, предлагающих специффичные инструменты для этого, вроде точной настройки материалов и света. FreeCAD, будучи приложением для технического моделирования, не имеет совершенных инструментов рендеринга.
По счастью, мир открытых исходников предлагает много приложений для создания фотореалистичных изображений. Вероятно, наиболее известный из них Blender, очень популярный и широко используемый в создании фильмов и игр. Объёмные модели могут быть легко экспортированы из FreeCAD в Blender, где Вы можете добавить реалистичные материалы и освещение, и создать окончательные изображения или даже анимацию.
Некоторые другие инструменты рендеринга с открытыми исходниками сделаны для использования в других приложениях, и берут на себя сложные вычисления для получения фотореалистичных изображений. С помощью своего верстака Raytracing FreeCAD может использовать два из этих инструментов: POV-Ray и Luxrender. POV-Ray - очень старый проект, считающийся классическим движком трассировки лучей, в то время как Luxrender более новый, и производит рендерингу без допущений. Оба имеют свои достоинства и недостатки, в зависимости от типа изображений, которые требуется визуализировать. Лучше всего познакомиться с этим, посмотрев примеры на вебсайтах обоих программ.
Установка
Чтобы можно было использовать в FreeCAD верстак Raytracing, одно из этих приложений визуализации должно быть установлено в вашей системе. Обычно это просто, у обоих или есть установщики для многих платформ, или они уже включены в репозитории большинства дистрибутивов Linux.
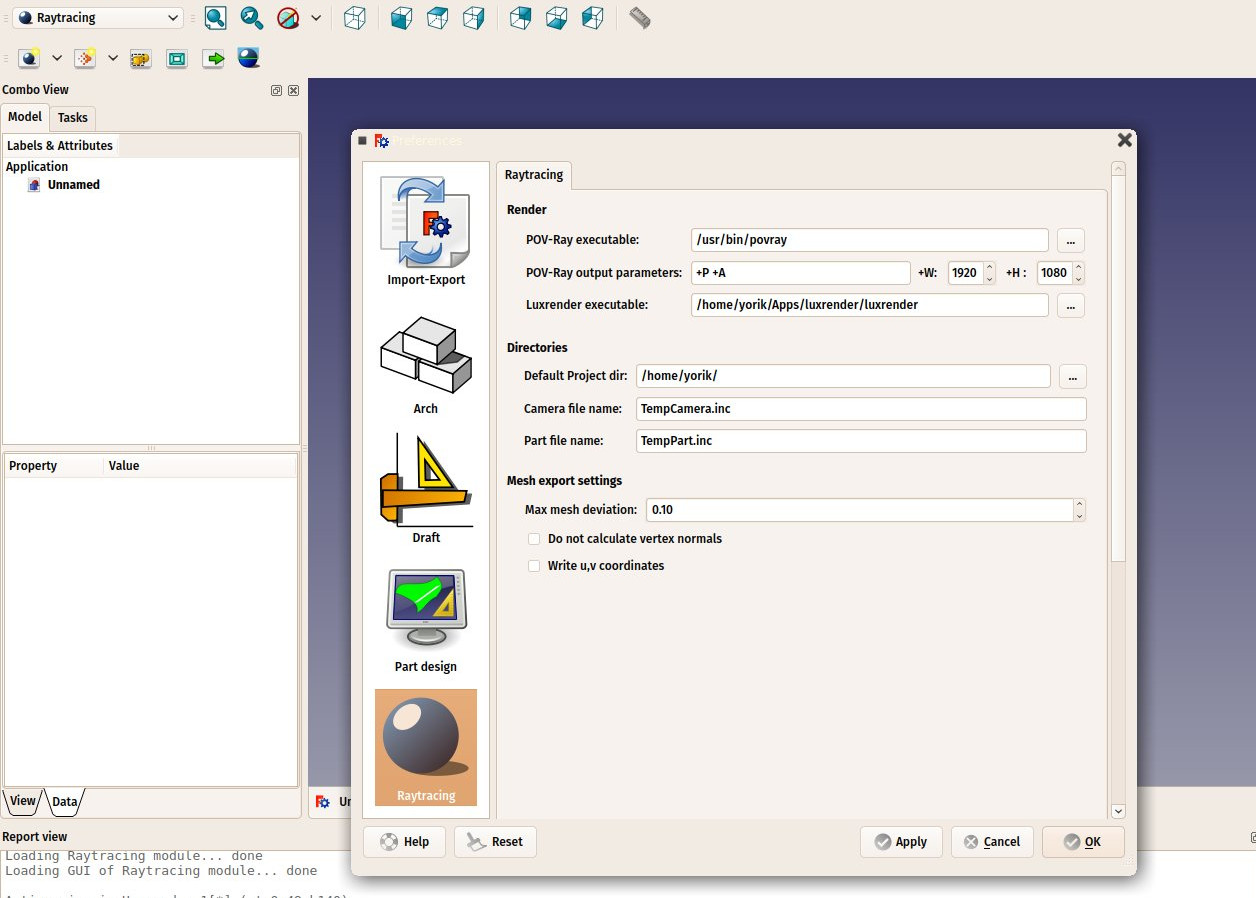
Когда POV-Ray или Luxrender установлен, требуется установить путь к их исполняемому файлу в настройках FreeCAD. Это обычно требуется только в Windows или Mac. В Linux FreeCAD возьмёт их из стандартного местоположения. Положение исполняемых файлов povray или luxrender можно найти простым поиском файлов povray (или povray.exe в Windows) и luxrender (или luxrender.exe в Windows).
In this preferences screen we can also set the desired image size we want to produce.
Rendering with PovRay
We will use the table we have been modeling in the tradtional modeling chapter to produce renderings with PovRay and Luxrender.
- Start by loading the table.FCStd file that we modeled earlier or from the link at the bottom of this chapter.
- Press the small down arrow next to the
 New Povray project button, and choose the RadiosityNormal template
 - A warning message might appear telling you that the current 3D view is not in perspective mode and the rendering will therefore differ. Correct this by choosing No, choosing menu View->Perspective view and choosing the RadiosityNormal template again.
- You might also try other templates after you created a new project, simply by editing its Template property.
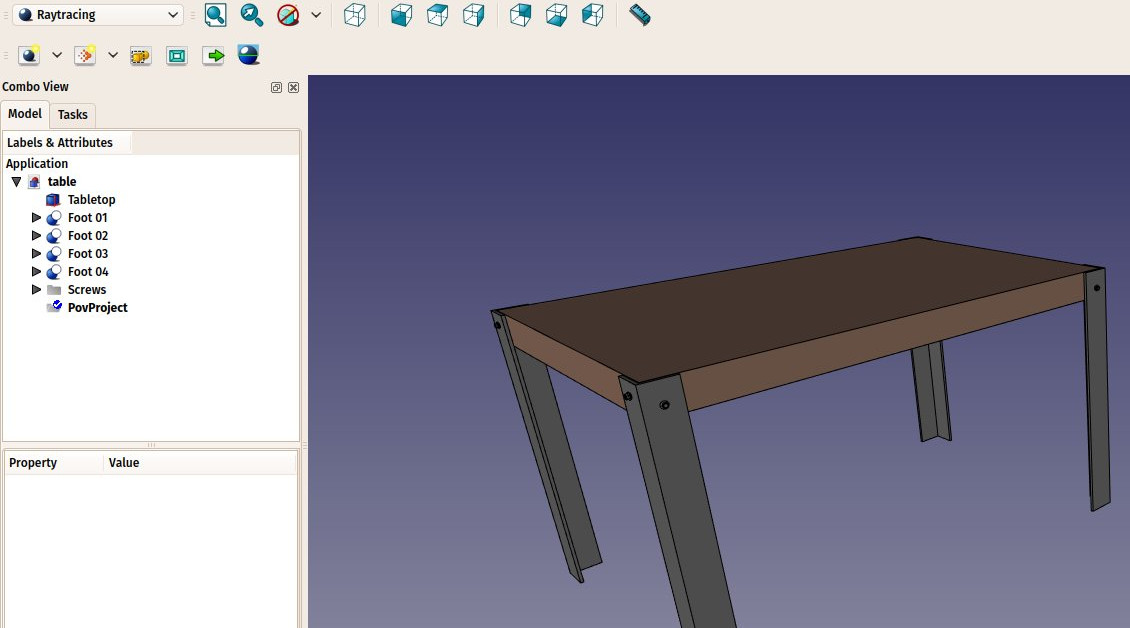
- A new project has now been created:
- The new project has adopted the point of view of the 3D view as it was at the moment we pressed the button. We can change the view, and update the view position stored in the povray project anytime, by pressing the
 Reset camera button.
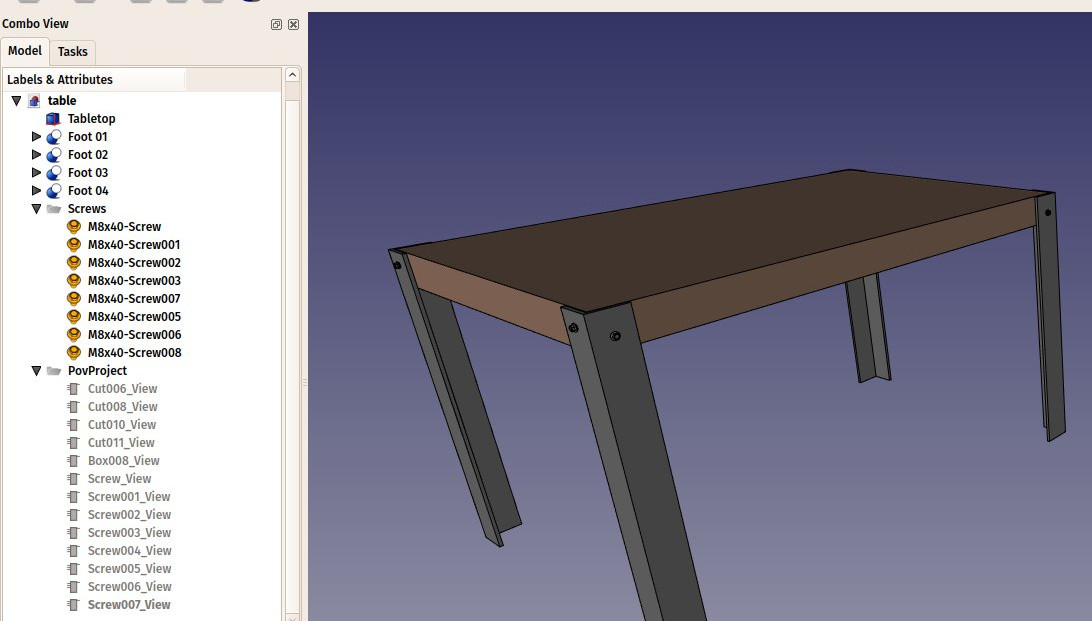
 - The Raytracing Workbench works the same way as the Drawing Workbench: Once a project folder is created, we must add Views of our objects to it. We can now do that by selecting all the objects that compose the table, and press the
 Insert part button:
- The views have taken the color and transparency values from their original parts, but you can change that in the properties of each individual view if you wish.
- We are now ready to produce our first povray render. Press the
 Render button.
 - You will be asked to give a file name and path for the .png image that will be saved by povray.
- The povray will then open and calculate the image.
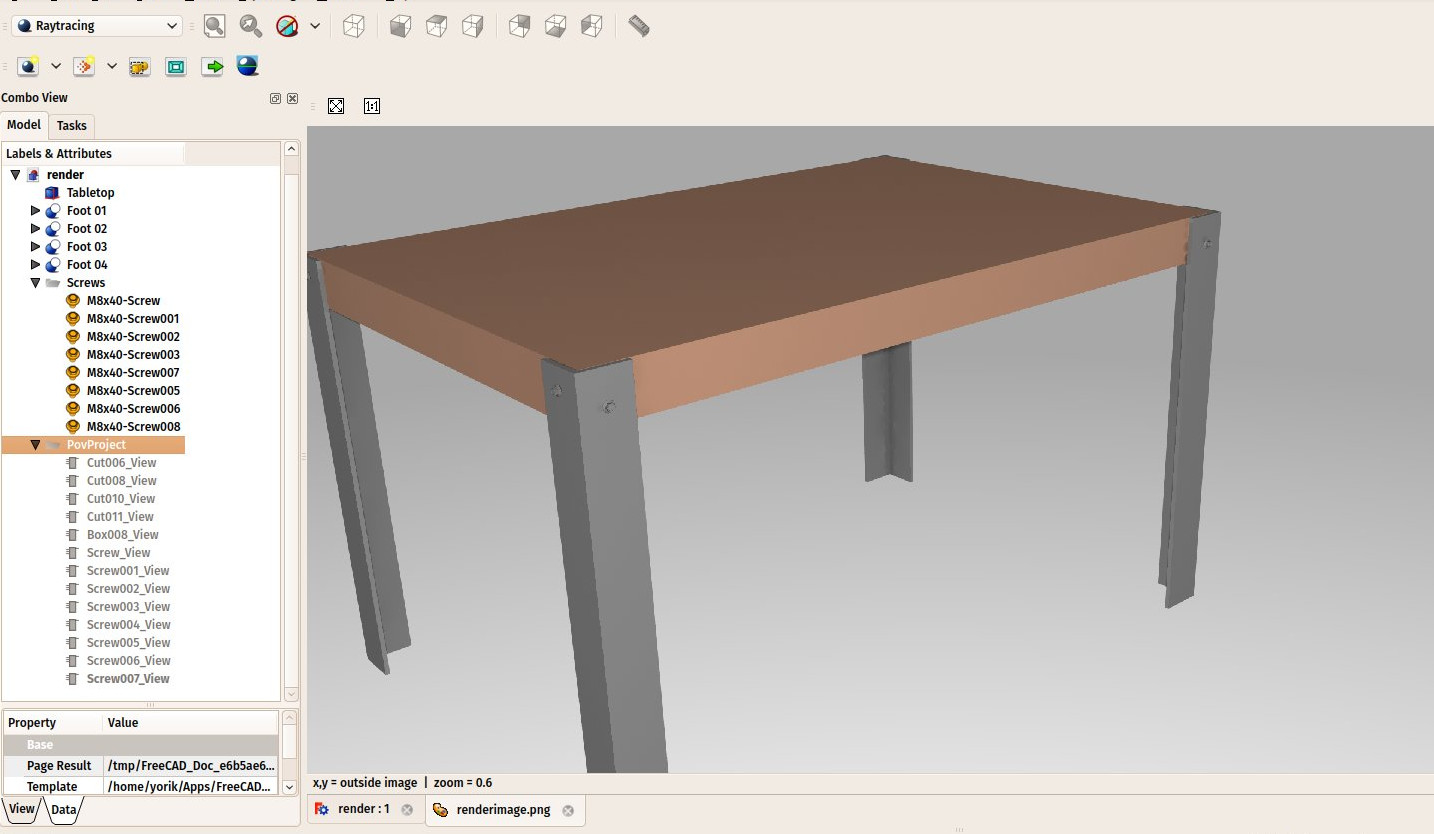
- When this is done, simply click the image to close the povray window. The resulting image will be loaded in FreeCAD:
Rendering with LuxRender
- Rendering with Luxrender works almost the same way. We can leave our file open and create a new Luxrender project in the same file, or reload it to start from scratch.
- Press the little down arrow next to the
 New Luxrender project button and choose the LuxOutdoor template.
 - Select all the components of the table. If you still have the povray project in your document, be sure to also select the lux project itself, so the views created in the next step won't go in the wrong project by mistake.
- Press the
 Insert part button.
 - Select the luxrender project, and press the
 Render button.
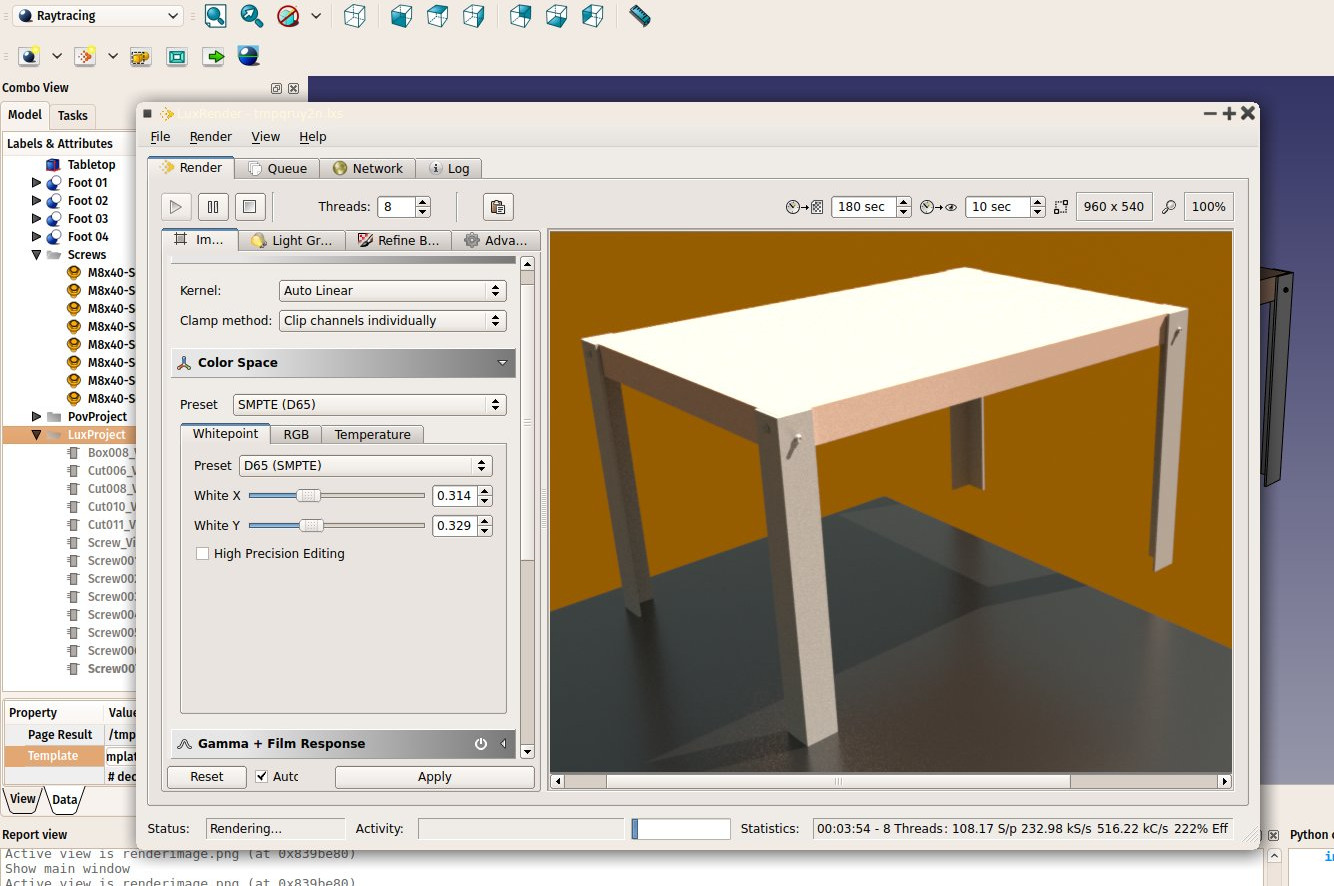
 - Luxrender works differently than povray. When you start the render, the luxrender application will open and immediately start rendering:
- If you leave that window open,Luxrender will continue calculating and rendering forever, progressively refining the image. It is up to you to decide when the image has reach a sufficient quality for your needs, and stop the render.
- There are also many controls to play with, on the left panel. All these controls will change the aspect of the image being rendered on the fly, without stopping the rendering.
- When you feel the quality is good enough, simply press Render->stop, and then File->Export to image->Tonemapped low dynamic range to save the rendered image to a png file.
You can extend greatly the render possibilities of FreeCAD by creating new templates for povray or luxrender. This is explained in the Raytracing Workbench documentation.
Downloads
- The table model: https://github.com/yorikvanhavre/FreeCAD-manual/blob/master/files/table.FCStd
- The file produced during this exercise: https://github.com/yorikvanhavre/FreeCAD-manual/blob/master/files/render.FCStd
Read more
