Part Helix/de: Difference between revisions
(Created page with "==Beschreibung== Ein Helix-Grundkörper ist im {{Button|Grundkörper erstellen}}-Dialog im Part-Arbeitsbereich verfügbar.") |
(Created page with "Der 'Geometrische Grundkörper'-Dialog kann über {{Button|Formteil}} → {{Button|32px Grundkörper erstellen...}} aus der Menüleiste ode...") |
||
| Line 5: | Line 5: | ||
Ein Helix-Grundkörper ist im {{Button|Grundkörper erstellen}}-Dialog im Part-Arbeitsbereich verfügbar. |
Ein Helix-Grundkörper ist im {{Button|Grundkörper erstellen}}-Dialog im Part-Arbeitsbereich verfügbar. |
||
Der 'Geometrische Grundkörper'-Dialog kann über {{Button|Formteil}} → {{Button|[[Image:Part_CreatePrimitives.png|32px]] Grundkörper erstellen...}} aus der Menüleiste oder über [[Image:Part_CreatePrimitives.png|32px]] aus der Part-Werkzeugleiste im Part-Arbeitsbereich ausgewählt werden. Eine übliche Verwendung für die Helix ist für [[Thread_for_Screw_Tutorial/de|Gewinde]] in Verbindung mit der [[Part_Sweep/de|Sweep]]-Operation. |
|||
== How to use == |
== How to use == |
||
Revision as of 20:48, 6 January 2019
|
|
| Menüeintrag |
|---|
| Part → Create Primitives → Helix |
| Arbeitsbereich |
| Part, OpenSCAD |
| Standardtastenkürzel |
| Keiner |
| Eingeführt in Version |
| - |
| Siehe auch |
| Keiner |
Beschreibung
Ein Helix-Grundkörper ist im Grundkörper erstellen-Dialog im Part-Arbeitsbereich verfügbar.
Der 'Geometrische Grundkörper'-Dialog kann über Formteil → ![]() Grundkörper erstellen... aus der Menüleiste oder über
Grundkörper erstellen... aus der Menüleiste oder über ![]() aus der Part-Werkzeugleiste im Part-Arbeitsbereich ausgewählt werden. Eine übliche Verwendung für die Helix ist für Gewinde in Verbindung mit der Sweep-Operation.
aus der Part-Werkzeugleiste im Part-Arbeitsbereich ausgewählt werden. Eine übliche Verwendung für die Helix ist für Gewinde in Verbindung mit der Sweep-Operation.
How to use

|
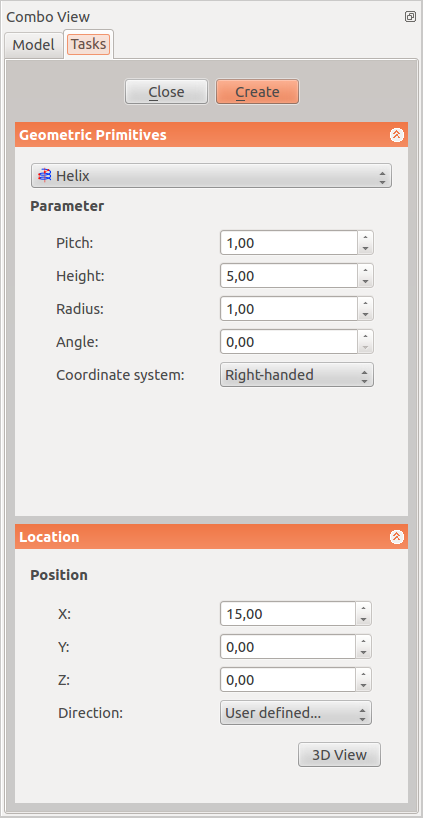
Parameter
Location
|
Options
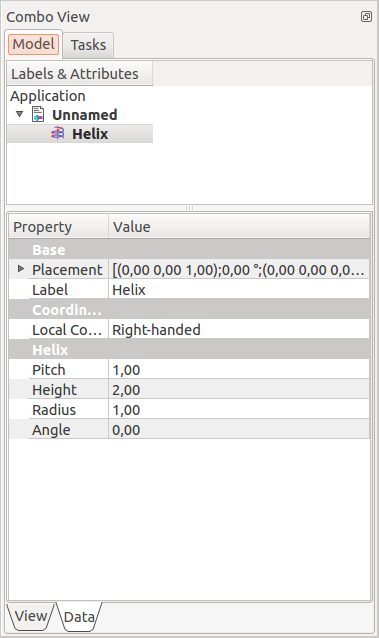
Properties
Once you have created the helix you have the possibility to edit its parameters.

|
The parameters in this menu are similar to those described above.
|