Dostosowanie pasków narzędzi
| Temat |
|---|
| Przykład |
| Poziom trudności |
| początkujący |
| Czas wykonania |
| 5 minut |
| Autorzy |
| Mario52 |
| Wersja FreeCAD |
| Wszystkie |
| Pliki z przykładami |
| Nie dołączono |
| Zobacz również |
| - |
Streszczenie
Ten poradnik pokazuje, jak dostosować paski narzędzi do własnych potrzeb. Narzędzia (włącznie z Makro-narzędziami) mogą być używane w różnych Środowiskach pracy. Na przykład Makropolecenie staje się Makro-Narzędziem poprzez utworzenie Tekstu menu, Porady dla narzędzia i Ikonki. Następnie to Makro-narzędzie staje się częścią dodatkowego paska narzędzi w środowisku pracy.
Użycie
1. Znajdź menu Dostosuj
- Kliknij w Menu główne → Narzędzia → Dostosuj,

- lub kliknij prawym przyciskiem myszki na dowolnym pasku narzędzi.

- Pojawia się okienko modyfikacji.

2. Zrób z makra narzędzie
- Wybierz zakładkę "Makrodefinicje".
- Aby dodać ikonę dla dostarczonej makrodefinicji kliknij przycisk Obrazek (oznaczony ... ).

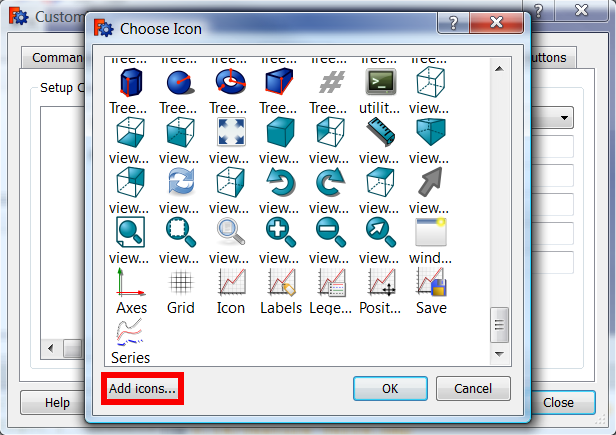
- Wybierz odpowiadająca Ci ikonę, spośród dostępnych ikon programu FreeCAD,
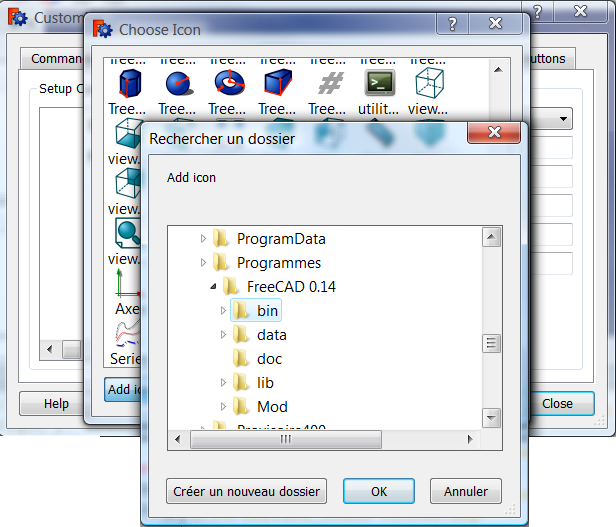
[lub dodaj swoją własną ikonkę klikając w przycisk Folder ikonek ...]. (expand for an example)
- Select your icon and click OK.

- The icon you selected is now displayed next to the Pixmap button labelled ....

- Select the provided macro in line Macro:' and specify a Menu text: (which will appear as the text label in the menu); also fill in the Tool Tip': (which is the text that will appear when a mouse is over the button on the toolbar); further lines are optional.
- Click the button Add.

- The button of the macro-tool is now created.

3. Create a toolbar outside the workbench Macro which contains the created Macro-tool
- Select the Toolbars tab and choose the workbench (for which the toolbar is provided) in the drop down on the right (Part in this example).
[Since version 0.15 there is a Global toolbar. If this is selected, the provided toolbar will be in each workbench.]

- In the dropdown on the left select Macros.

- The macro-tool with its icon appears in the list.

- Click the button New...

- In the window "New Toolbar" enter the name of the provided extra toolbar for the Part Workbench and click OK

- The toolbar is now created.
- To add the creadet macro-tool to this toolbar, select it in the left window and then click the Button with the arrow pointing right.

- You have created now a toolbar called "Camera" (with the Macro-tool Camera in it)
- Click the Close button.

- Your new toolbar is now contained in the toolbars' right-click menu. Its Icons (in our example only the camera) are visible, if the toolbar is activated (blue checkmark).

Notes
See also Interface Customization.

