Personnaliser la barre d'outils
| Thème |
|---|
| SampleTopic |
| Niveau |
| Débutant |
| Temps d'exécution estimé |
| 5 minutes |
| Auteurs |
| Mario52 |
| Version de FreeCAD |
| Toutes |
| Fichiers exemples |
| None |
| Voir aussi |
| None |
Sommaire
Ce tutoriel vous vous montre la personnalisation de la barre d'outils. Les outils (incluant les outils-Macro) peuvent être utilisés dans différents ateliers. Dans un exemple une Macro devient un "texte de Menu", " un "nom d'outil" et une "icône". Ensuite l'outil-Macro devient un élément supplémentaire de la barre d'outil dans l'atelier.
Utilisation
1. Trouver le Menu Personnaliser
1 : Cliquez sur Template:MenuCommand/fr,

ou faites un clic droit sur n'importe quelle barre d'outils
- la fenêtre "Personnaliser" s'affiche
2. Transformer une Macro en Macro-Outil
2 Sélectionnez l'onglet "Macro"
3 : cliquez sur le bouton ... pour ajouter un icône pour votre macro
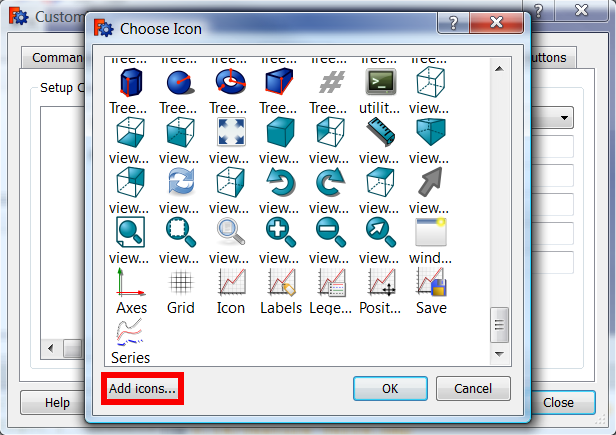
4 : Cherchez une icône appropriée parmi les icônes FreeCAD existantes,
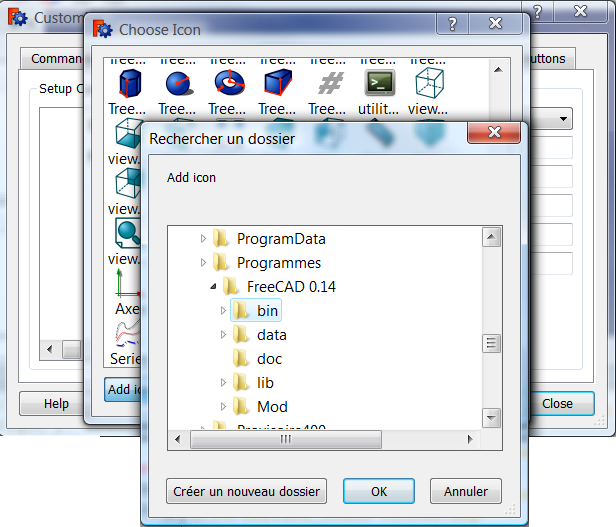
[or add your own icon by clicking Add icons...]. (expand for an example)
- Select your icon and click OK.

- The icon you selected is now displayed next to the Pixmap button labelled ....

- Select the provided macro in line Macro:' and specify a Menu text: (which will appear as the text label in the menu); also fill in the Tool Tip': (which is the text that will appear when a mouse is over the button on the toolbar); further lines are optional.
- Click the button Add.

- The button of the macro-tool is now created.

3. Create a toolbar outside the workbench Macro which contains the created Macro-tool
- Select the Toolbars tab and choose the workbench (for which the toolbar is provided) in the drop down on the right (Part in this example).
[Since version 0.15 there is a Global toolbar. If this is selected, the provided toolbar will be in each workbench.]

- In the dropdown on the left select Macros.

- The macro-tool with its icon appears in the list.

- Click the button New...

- In the window "New Toolbar" enter the name of the provided extra toolbar for the Part Workbench and click OK

- The toolbar is now created.
- To add the creadet macro-tool to this toolbar, select it in the left window and then click the Button with the arrow pointing right.

- You have created now a toolbar called "Camera" (with the Macro-tool Camera in it)
- Click the Close button.

- Your new toolbar is now contained in the toolbars' right-click menu. Its Icons (in our example only the camera) are visible, if the toolbar is activated (blue checkmark).


