Aeroplane/ru: Difference between revisions
No edit summary |
No edit summary |
||
| Line 33: | Line 33: | ||
[[File:HTCaeroplane02.png|400px|right]] |
[[File:HTCaeroplane02.png|400px|right]] |
||
Теперь нам надо повернуть цилиндр, чтобы он лежал вдоль оси X. Для этого его надо повернуть по оси Y. Поле |
Теперь нам надо повернуть цилиндр, чтобы он лежал вдоль оси X. Для этого его надо повернуть по оси Y. Поле ''Угол'' означает 'Повернуть ось на угол', так что изменим ''Ось'' на Y и увеличьте Angle до 90. Кликните OK. |
||
Мне нравится играть с вращением видов в этом месте (и часто!), поэтому обязательно сделайте это. Найдите "шов" цилиндра внизу. |
Мне нравится играть с вращением видов в этом месте (и часто!), поэтому обязательно сделайте это. Найдите "шов" цилиндра внизу. |
||
Revision as of 12:55, 23 August 2017
| Тема |
|---|
| Part Workbench |
| Уровень |
| Beginner |
| Время для завершения |
| 10 minutes |
| Авторы |
| FreeCAD версия |
| Примеры файлов |
| Смотрите также |
| None |
Первые шаги
Мы будем работать в верстаке Part - выберите его из меню через Вид->Верстак->Part или переключателем верстаков.
- Создайте новый пустой документ.
- Переключитесь на аксонометрический вид.
- Включите показ осей координат (через меню Вид).
- Обязательно включите Комбо-панель (через Вид->Панели).
- Создайте цилиндр, кликнув кнопку
 Цилиндр.
 - Выделите его, кликнув на Цилиндр в древе проекта.
- Кликните на вкладке Данные в комбопанели ниже древа проектов.
Измените Height на 20mm. Оставьте Radius равным 2mm.
Кликните Placement (отметьте маленькую [+]), и появится кнопка с тремя точками. Кликните на ней. (Вы можете так же выбрать: Меню->Правка->Расположение.) Появится панель задач.
Если Вы не знакомы с осями XYZ, то поиграйте с числами в поле Translation. Когда закончите играть, кликните на кнопке Отмена.
Следующие шаги
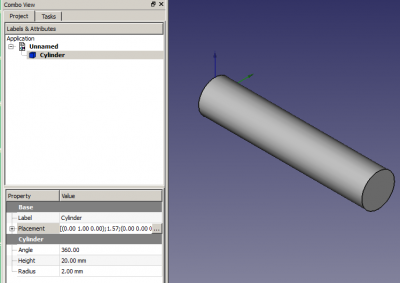
Теперь нам надо повернуть цилиндр, чтобы он лежал вдоль оси X. Для этого его надо повернуть по оси Y. Поле Угол означает 'Повернуть ось на угол', так что изменим Ось на Y и увеличьте Angle до 90. Кликните OK.
Мне нравится играть с вращением видов в этом месте (и часто!), поэтому обязательно сделайте это. Найдите "шов" цилиндра внизу.
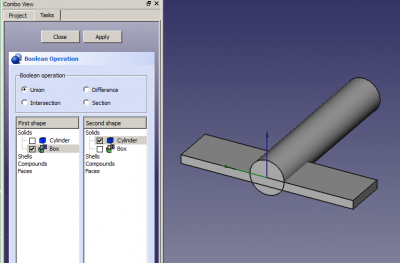
Теперь мы собираемся добавить и модифицировать куб, так что кликнем на кнопке ![]() Box. Выделите её, кликнув на Box в древе проекта. Измените Height на 1mm, Length на 5mm, и Width на 20mm.
Box. Выделите её, кликнув на Box в древе проекта. Измените Height на 1mm, Length на 5mm, и Width на 20mm.
кликните на Placement and the three dots чтобы получить просмотр задач. Используя поле ввода Translation, введите Y: -10 и Z: -1. Кликните OK.
Теперь мы соединим эти две формы с помощью Булевой Операции. Кликнем на кнопке ![]() Booleans, и на панели задач появится селектор булевых операций.
Booleans, и на панели задач появится селектор булевых операций.
Make sure Union is selected, and that the Cylinder and the Box are each ticked once in the two shape lists. Click on Apply. Click on Close. You now have a single object called Fusion.
Let's add one more box to finish off our model. Create a Box, Select it and change its Height to 5mm, Length to 3mm and Width to 1mm. Change its Placement by Y: -0.5.
We now need to join our Fusion to Box001 so we'll do it the quick way. Click on Fusion in the Project viewer and CTRL-click on Box001. This selects both parts together. Now click on the ![]() Union button to get Fusion001.
Union button to get Fusion001.
You should now have a simple aeroplane model. Right-click on Fusion001 and Rename it 'Aeroplane'.
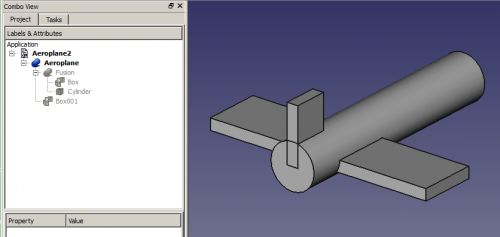
I think the wings need to be moved forward a bit but if I select Aeroplane and try changing its Placement X Translation the whole thing moves. I only want to move the wings so cancel the Placement.
Expand Aeroplane (click on the [+] beside it) and expand Fusion.
Click on Box and get its Placement into Tasks. Notice it already has Y: -10 and Z: -1 in the Translation. Change the X translation to 3 and click on Apply. That's better. Click OK.
Rotations
Click on Aeroplane and get its Placement into Tasks (Other explanation on Placement). In the Rotation section change where it says 'Rotation axis with angle' to 'Euler angles' because they're a lot easier to work with.
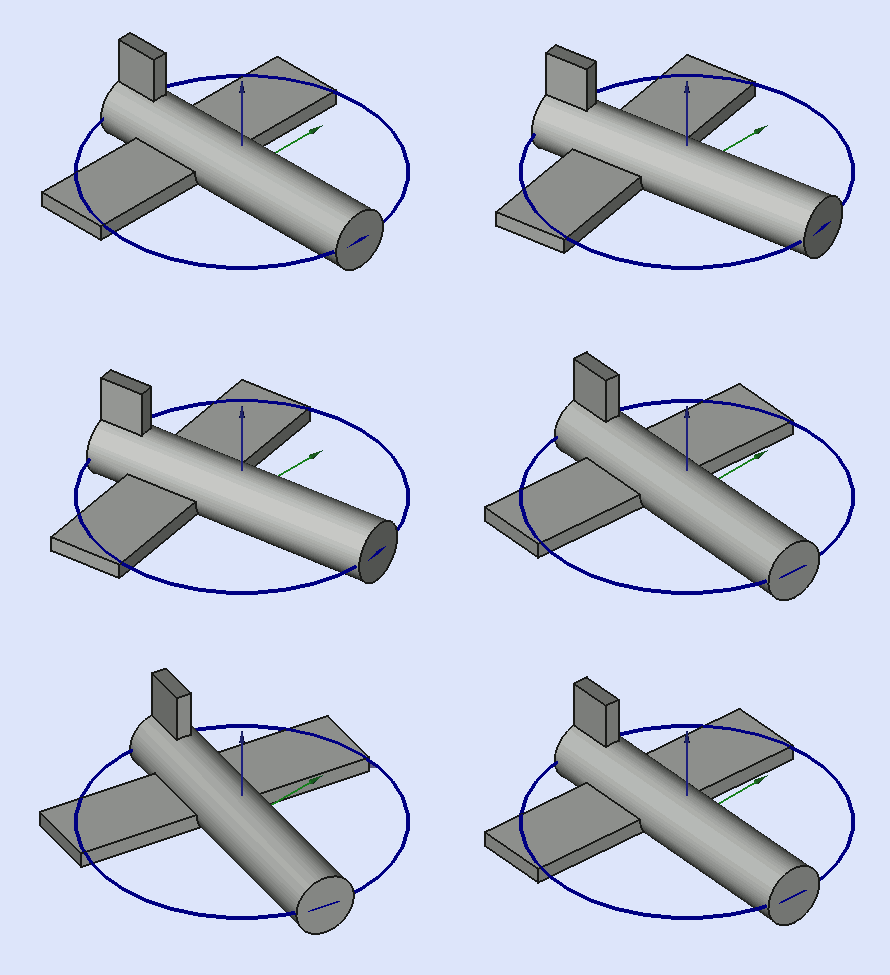
Yaw is the rotation about the Z axis, that is to say a rotation from left to right. (The yaw angle is the Psi ψ).
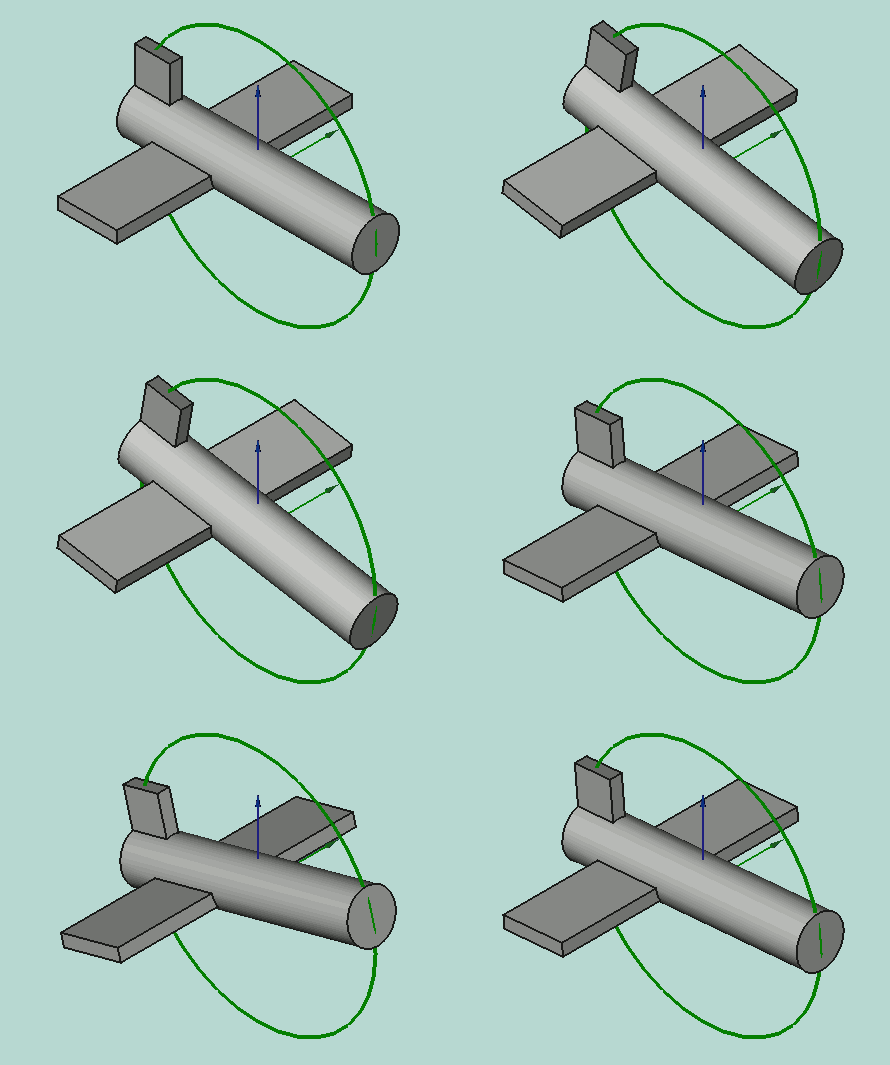
Pitch is rotation about the Y axis, that is to say nose-up and nose-down. (The Pitch angle is the Phi φ).
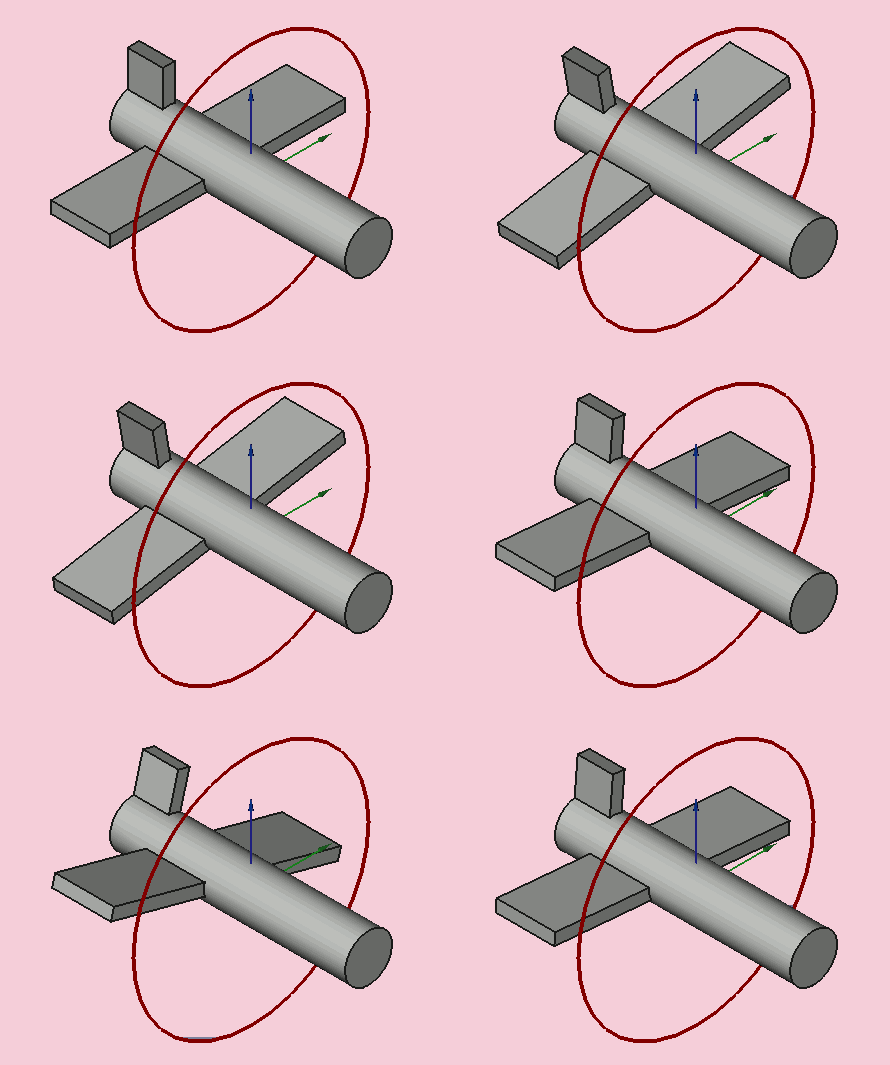
Roll is rotation about the X axis, that is to say wing up and down. (The Roll angle is the Thêta θ).
However, even here there are some important things to remember:
- Positive Rotations are clockwise when viewed from the Origin outwards along a positive axis. Or to put it another way: Positive Rotations are anticlockwise when viewed from a positive axis towards the Origin.
- Although the three labels are Yaw, Pitch and Roll that's not really what they are. Yaw, Pitch and Roll are references to the body coordinates of an object in 3D space. The labels should be Heading, Elevation and Bank or even Azimuth, Inclination and Bank because thay actually refer to the space coordinates of the 3D system. These are the Tait-Bryan angles. If you want more information then try Euler Angles.
- With the Aeroplane in its present position simple rules apply. Yaw is rotation around the Z axis, ie left and right. Pitch is rotation around the Y axis, ie nose up and down. Roll is rotation around the X axis, ie wings up and down. That's fine to start with but it's not going to be true later!
Have a play with the three YPR numbers. You only need to change things by a few degrees to get the idea. Reset when you finished.
Now we're going to see why the Yaw-Pitch-Roll labels are not really suitable. Change the Roll number to 90°. Yaw should move the nose of the aeroplane up and down and Pitch should move it side to side as viewed from outside the aeroplane which is where we are. Do they? No they don't! Pitch changes the yaw and Yaw changes the pitch. OK, Reset.
So, a better way of thinking about rotations is that Yaw changes your Longitude, Pitch changes your Latitude and Roll changes the direction (NSEW) that you're facing. Or you could check out Axes conventions for other descriptions.
Right, back to work. Change Yaw to 45° and Pitch to -30°. Click on OK to show that the operation has been completed. Now get back the Placement Task and look at the Rotation box. It has reverted to 'Rotation axis with angle' and has some wierd numbers Axis and Angle boxes. Mine had Axis: (0.219493,-0.529904,0.819161) and Angle: 53.65°. The three numbers in brackets are the XYZ components of a unit vector in the 3D space. It is the axis about which our original Aeroplane was rotated to get our final Aeroplane. The angle is how much it was rotated. Clever, huh, but not very friendly! It was Euler who showed that you could combine a series of XYZ rotations into one rotation about one axis.
Here's some more suggestions for playing with the Aeroplane:
- Change the Z Location (and Apply) then change the YPR numbers and see what the effect is. Then try changing the X and Y Locations and rotating.
- Change the X Centre (and Apply) then change the YPR numbers and see what the effect is. Then try changing the Y and Z Centres and rotating.
I hope this little tutorial has helped you to get a feel for rotations.
