Translations:SheetMetal Forming/56/en
- Select the wall of the SheetMetal object to be embossed
- Select the back side of the shape defining solid
(Remember both the object to be embossed and the shape defining solid must be selected. Activate the multi-select method appropriate for your operating system: Control/Command.)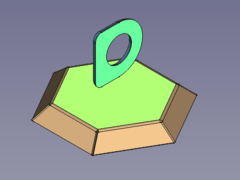
- Press the
Make Forming in Wall button
or use the keyboard shortcut: M then F
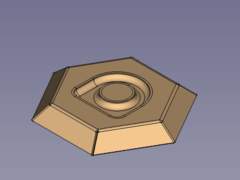
- Fillet the sharp edges:
- Flip the bowl and select one or more edges for the smaller inner radii
- Press the
PartDesign Fillet button
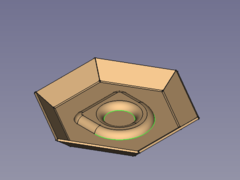 -->
--> 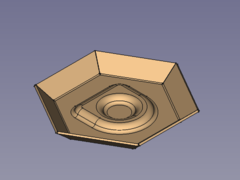
- Flip the bowl again and select one or more edges for the bigger outer radii
- Press the
PartDesign Fillet button
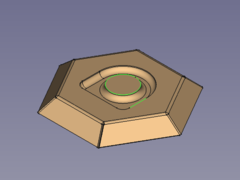 -->
--> 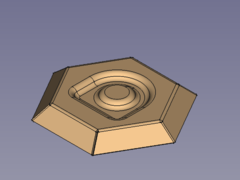
Done!
- Alter orientation and position (should be done before filleting)
- Activate the
WallForming object in the Tree view
- Set the value of the property Dataangle to e.g. 45°
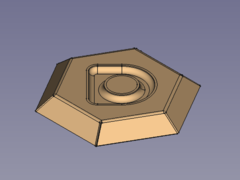
- Set the value of the property Dataoffset, x to e.g. greater than 0
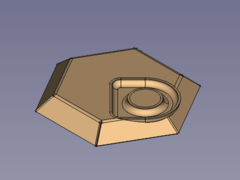
Here it is plain to see that it doesn't make sense to move the embossed geometry outside the selected wall.
- Setting the value of the property Dataoffset, z to e.g. greater than 0 isn't any better:
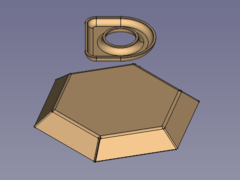
At least the FreeCAD doesn't crash when a part has two bodies...
- Activate the
- Some hints
- The height of the defining solid determines the depth of the embossed shape.
That means changing the parameter offset, z to alter the depth won't deliver expected results. - The embossed geometry is made of a shell object i.e. it has a constant thickness.
And so the defining solid has to be offsetable, otherwise the tool will fail to create the emboss. - If the outer edges are filleted first it may rip the object into several pieces when the radii are set too large.
- The height of the defining solid determines the depth of the embossed shape.