Arch Panel Cut/ro: Difference between revisions
(Created page with "== Cum se folosește ==") |
(Created page with "# Selecta'i unul sau mai multe obiecte Arch Panel objects # Apăsați butonul {{KEY|16px Arch Panel Cut}}, sau apăsați tastele în ord...") |
||
| Line 11: | Line 11: | ||
== Cum se folosește == |
== Cum se folosește == |
||
# |
# Selecta'i unul sau mai multe obiecte [[Arch Panel]] objects |
||
# |
# Apăsați butonul {{KEY|[[Image:Arch Panel Cut.png|16px]] [[Arch Panel Cut]]}}, sau apăsați tastele în ordine {{KEY|P}} apoi {{KEY|C}} |
||
# Modificați propreitățile dorite |
|||
# Adjust the desired properties |
|||
==Options== |
==Options== |
||
Revision as of 06:38, 22 November 2018
|
|
| Menu location |
|---|
| Arch → Panel Tools → Panel Cut |
| Workbenches |
| Arch |
| Default shortcut |
| P,C |
| Introduced in version |
| - |
| See also |
| Arch Panel, Arch Panel Sheet, Arch Nest, Path Workbench |
Descriere
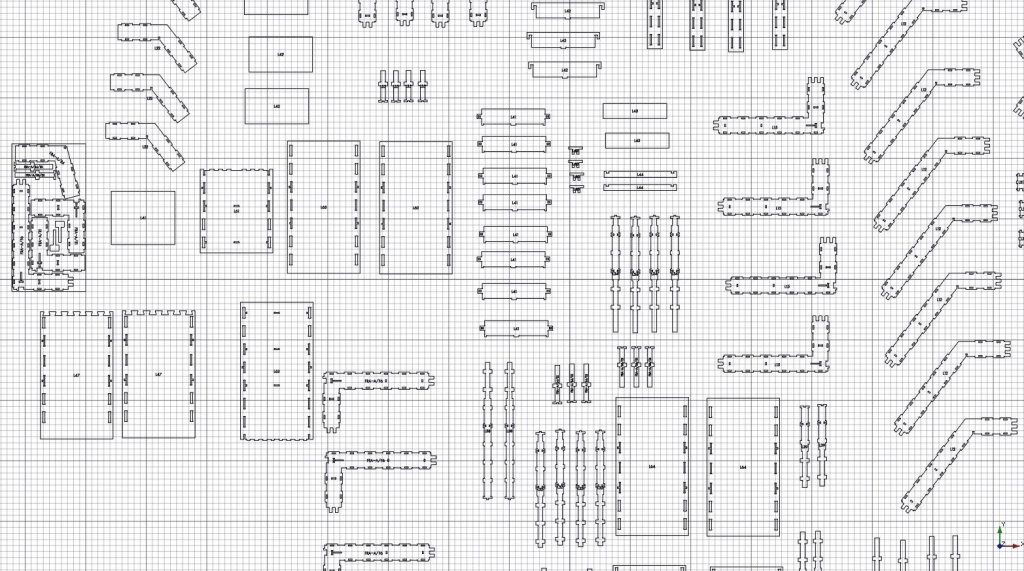
Acest instrument creează, în documentul 3D, o vizualizare plană 2D a unui panou Arch Panel, care va fi inclus într-o Arch Panel Sheet sau exportată direct în DXF. Obiectele Panel Cut sunt, de asemenea, acceptate de Path Workbench.
Cum se folosește
- Selecta'i unul sau mai multe obiecte Arch Panel objects
- Apăsați butonul
 Arch Panel Cut, sau apăsați tastele în ordine P apoi C
 - Modificați propreitățile dorite
Options
- If the panel is not flat (corrugated, for example), the relief won't appear in the Panel cut. This tool is useful mainly for flat panels
- The panel cut can display a tag. This tag can be a custom line of text or can automatically show the Tag, Label or Description of its linked Panel.
- To be useful for CNC machining, the tag should be written using a sticky font, where letters are simple polylines that are easy for the machine to follow. Upon creation, the Panel Cut object will automatically use the font specified in Edit → Preferences → Draft → Texts and Dimensions → ShapeString Font
- Double-clicking on the panel cut in the tree view after it is created allows you to enter edit mode and modify the position of the tag
- When you need to layout different Panel Cuts together, Panel Cuts can display a margin, that is useful to make sure a certain space is always present between a cut and another
Properties
- DateSource: The Arch Panel object shown by this Cut
- DateTag Text: The text to display. Can be %tag%, %label% or %description% to display the panel tag or label
- DateTag Size: The size of the tag text
- DateTag Position: The position of the tag text. Keep (0,0,0) for automatic center position
- DateTag Rotation: The rotation of the tag text
- DateFont File: The font of the tag text
- VizualizareMargin: A margin that can be displayed outside the panel cut shape
- VizualizareShow Margin: Turns the display of the margin on/off
- DateMake Face: If True, the panel is a Part Face, otherwise a Part Wire
Scripting
The Panel tool can by used in macros and from the python console by using the following function:
makePanelCut (object)
Example:
import Arch,Draft
base = Draft.makeRectangle(500,200)
panel = Arch.makePanel(base,thickness=36)
Arch.makePanelCut(panel)
