Manual:Instalare
- Introducere
- Descoperind FreeCAD
- Lucrul cu FreeCAD
- Programarea prin script Python
- Comunitatea
FreeCAD utilizează licența LGPL , care vă permite să descărcați, să instalați, să redistribuiți și să utilizați FreeCAD așa cum doriți, indiferent de tipul de muncă pe care o veți realiza (comercială sau necomercială). Nu sunteți obligat la nicio clauză sau restricție, iar fișierele pe care le produceți cu ele sunt pe deplin ale dvs. Singurul lucru pe care licența îl interzice, într-adevăr, este să susții că ai programat tu însuți FreeCAD!
FreeCAD rulează fără nici o diferență pe Windows, Mac OS și Linux. Cu toate acestea, modurile de instalare diferă ușor în funcție de platforma dvs. Pe Windows și Mac, comunitatea FreeCAD furnizează pachete precompilate (instalatori) gata de descărcare, în timp ce pe Linux, codul sursă este pus la dispoziția administratorilor de distribuții Linux, care sunt apoi responsabili pentru ambalarea FreeCAD în distribuția lor specifică. Ca rezultat, pe Linux, puteți instala, de obicei, FreeCAD chiar din aplicația de manager de software.
Pagina oficialăde desxărcat pentru Windows și Mac OS este https://github.com/FreeCAD/FreeCAD/releases
FreeCAD versions
Comunicatele oficiale ale FreeCAD, pe care le puteți găsi pe pagina de mai sus și în managerul de software al distribuției, sunt versiuni stabile. Cu toate acestea, dezvoltarea FreeCAD este rapidă! Noi caracteristici și corecții de erori sunt adăugate aproape în fiecare zi. Deoarece uneori poate dura o perioadă lungă de timp între lansări stabile, s-ar putea să fiți interesat să încercați o versiune mai eficace a FreeCAD. Aceste versiuni de dezvoltare sau pre-lansări sunt încărcate din când în când în download page menționat mai sus, sau, dacă utilizați Ubuntu, comunitatea FreeCAD menține de asemenea PPA (Personal Package Archives) sau pași zilnici de avansare 'daily builds' care sunt regulat actualizați cu cel mai recente schimbări.
If you are installing FreeCAD in a virtual machine, please be aware that the performance might be poor, or in some cases unusable due to the limits of OpenGL support on most virtual machines.
Installing on Windows
- Download an installer (.exe) package corresponding to your version of Windows (32bit or 64bit) from the download page. The FreeCAD installers should work on any windows version starting from Windows 7.
- Double-click the downloaded installer.
- Accept the terms of the LGPL license, this will be one of the few cases where you can really, safely click the "accept" button without reading the text. No hidden clauses:
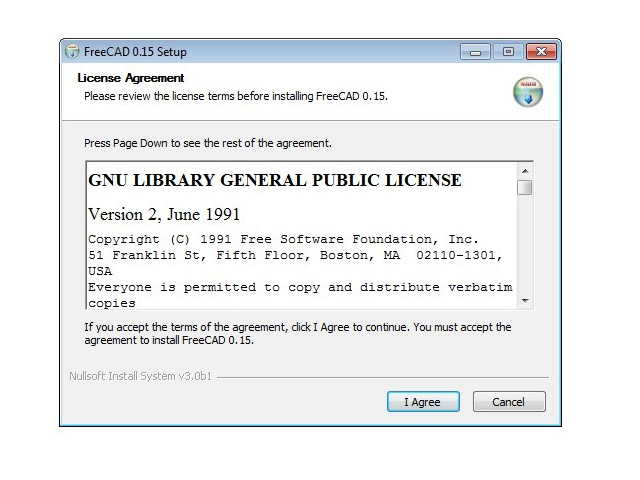
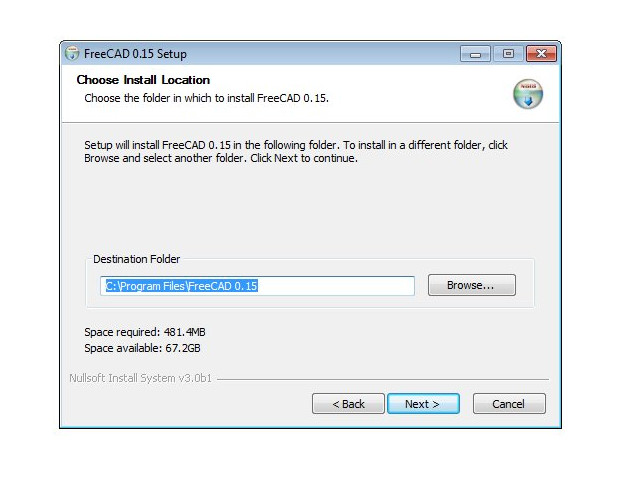
- You can leave the default path here, or change if you wish:
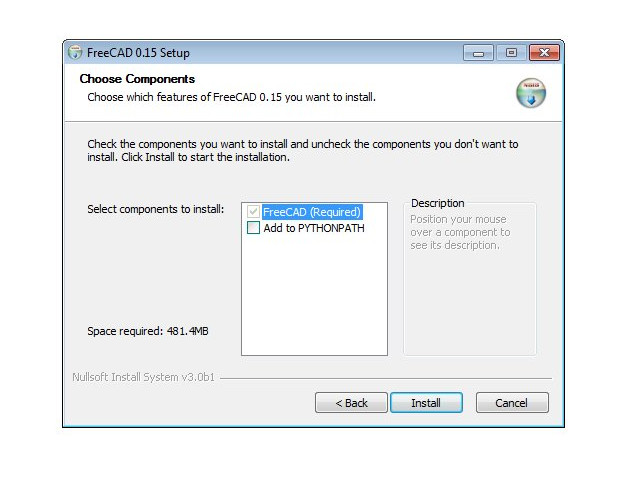
- No need to set the PYTHONPATH variable, unless you plan to do some advanced python programming, in which case you probably already know what this is for:
- During the installation, a couple of additional components, which are bundled inside the installer, will be installed too:
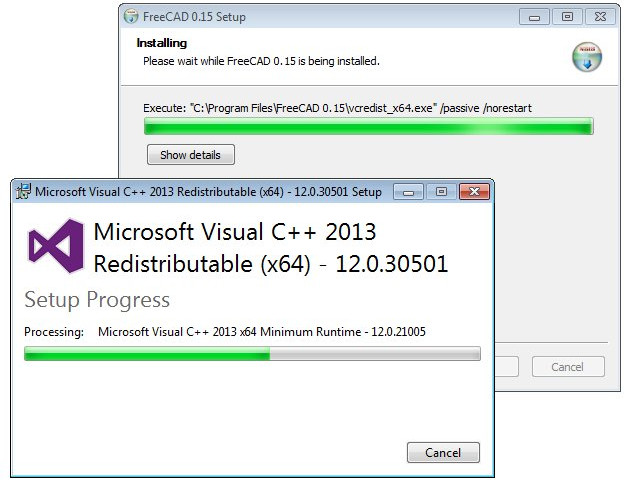
- That's it, FreeCAD is installed. You will find it in your start menu.
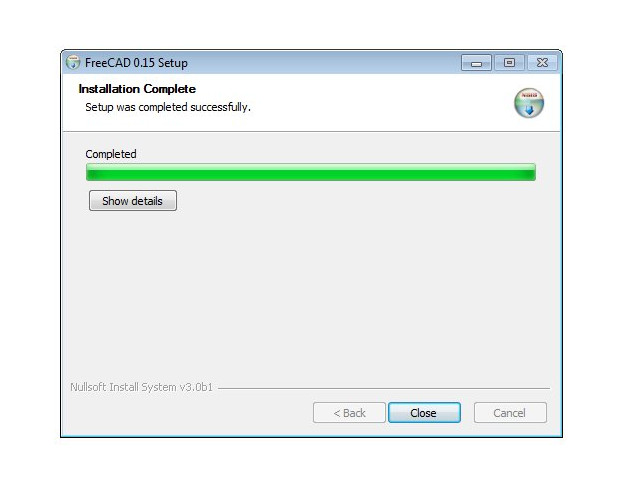
Installing a development version
Packaging FreeCAD and creating an installer takes some time and dedication, so usually, development (also called pre-release) versions are provided as .zip (or .7z) archives. These don't need to be installed, just unpack them and lauch FreeCAD by double-clicking the FreeCAD.exe file that you will find inside. This also allows you to keep both the stable and "unstable" versions together on the same computer.
Installing on Linux
On most modern Linux distributions (Ubuntu, Fedora, OpenSUSE, Debian, Mint, Elementary, etc), FreeCAD can be installed with the click of a button, directly from the software management application provided by your distribution (the aspect of it can differ from the images below, each distribution uses its own tool).
- Open the software manager and search for "freecad":
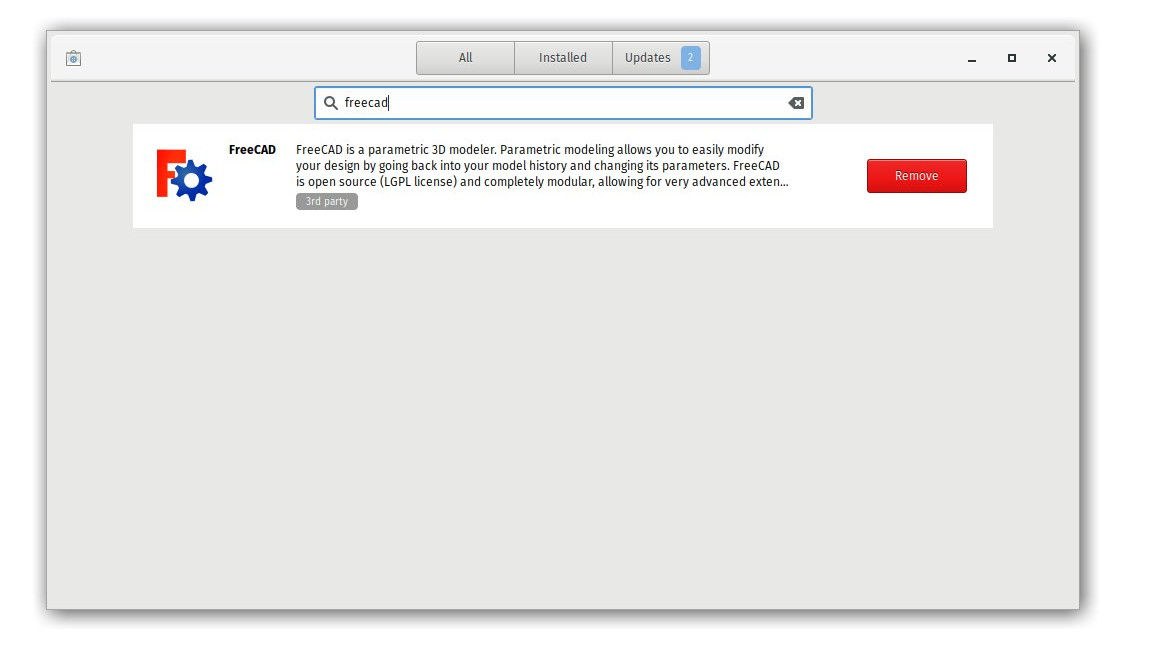
- Click the "install" button and that's it, FreeCAD gets installed. Don't forget to rate it afterwards!
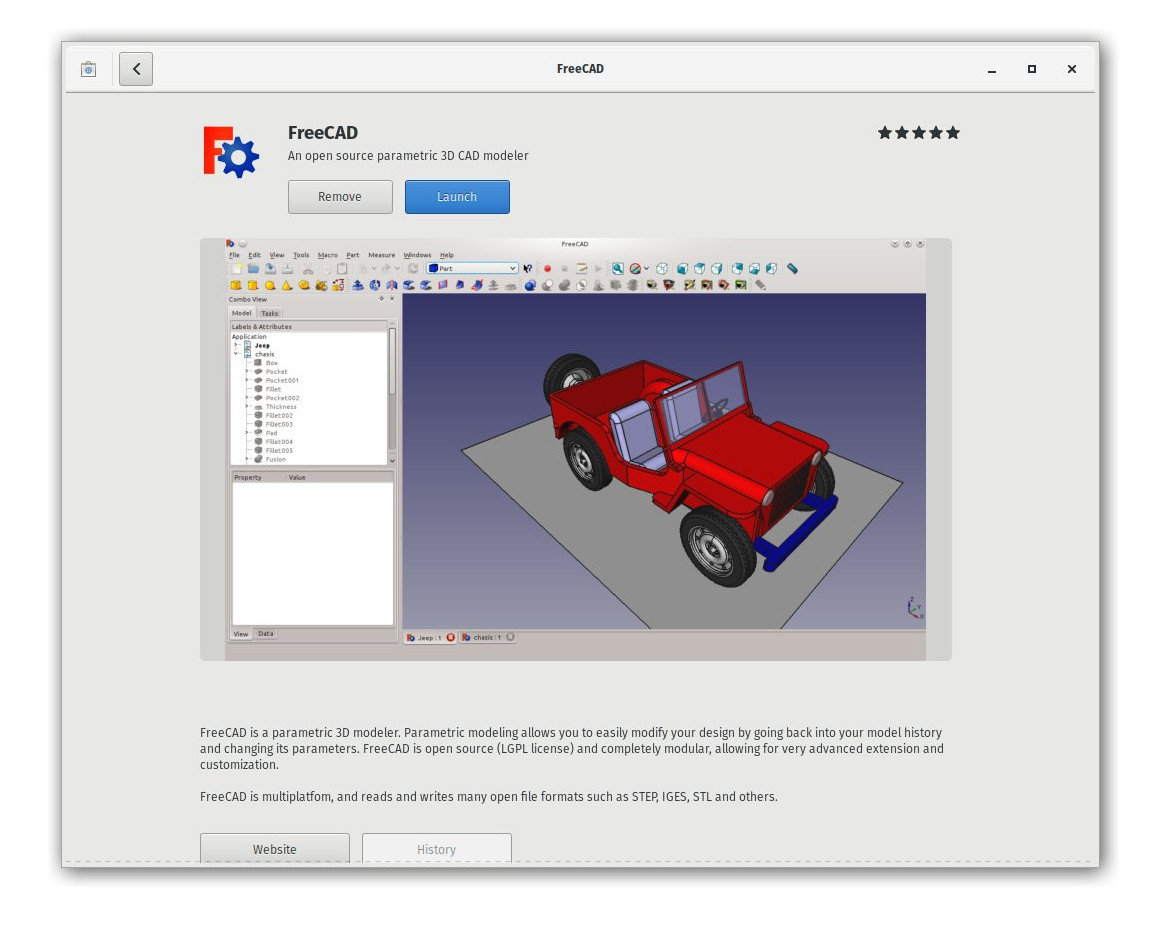
Alternative ways
One of the big joys of using Linux is the multitude of possibilities to tailor your software, so don't restrain yourself. On Ubuntu and derivatives, FreeCAD can also be installed from a PPA maintained by the FreeCAD community (it contains both stable and development versions) and because this is open source software, you can also easily compile FreeCAD yourself.
Installing on Mac OS
Installing FreeCAD on Mac OSX is nowadays as easy as on other platforms. However, since there are less people in the community who own a Mac, the available packages often lag a couple of versions behind the other platforms.
- Download a zipped package corresponding to your version from the download page.
- Open the Downloads folder, and expand the downloaded zip file:
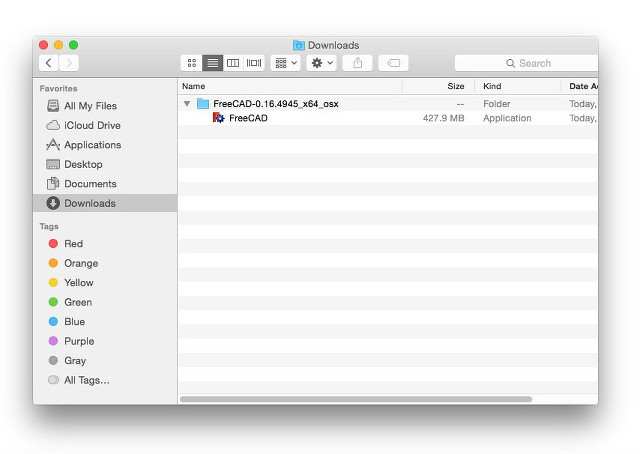
- Drag the FreeCAD application from inside the zip to the Applications folder:
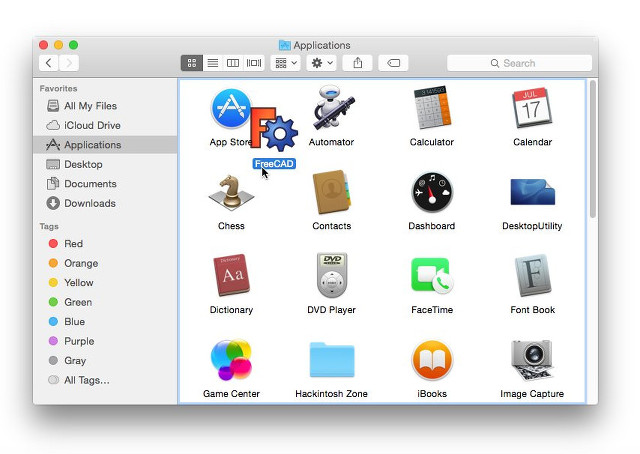
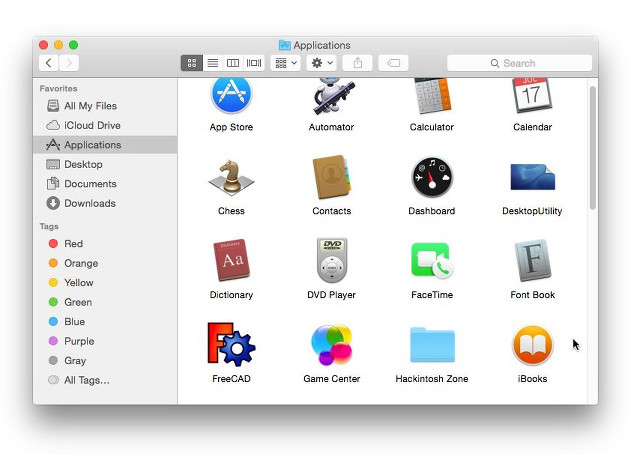
- That's it, FreeCAD is installed!
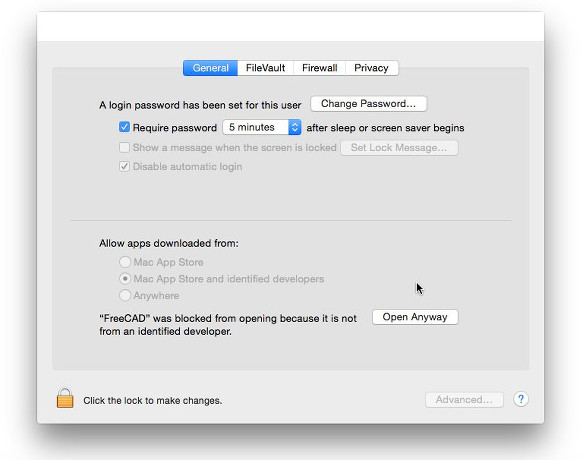
5. If the system prevents FreeCAD to launch, due to restricted permissions for applications not coming from the App store, you will need to enable it in the system settings:
Uninstalling
Hopefully you won't want to do that, but it is good to know anyway. On Windows and Linux, uninstalling FreeCAD is very straightforward. Use the standard "remove software" option found in the control panel on Windows, or remove it with the same software manager you used to install FreeCAD on Linux. On Mac, all you need to do is remove it from the Applications folder.
Setting basic preferences
Once FreeCAD is installed, you might want to open it and set a couple of preferences. Preferences settings in FreeCAD are located under menu Edit -> Preferences You can browse through the different pages to see if there is anything else you would want to change, but here are a couple of basic ones:
- Language: FreeCAD will automatically pick the language of your operating system, but you might want to change that. FreeCAD is almost fully translated to 5 or 6 languages, plus many others that are at the moment only partially translated. You can easily help to translate FreeCAD.
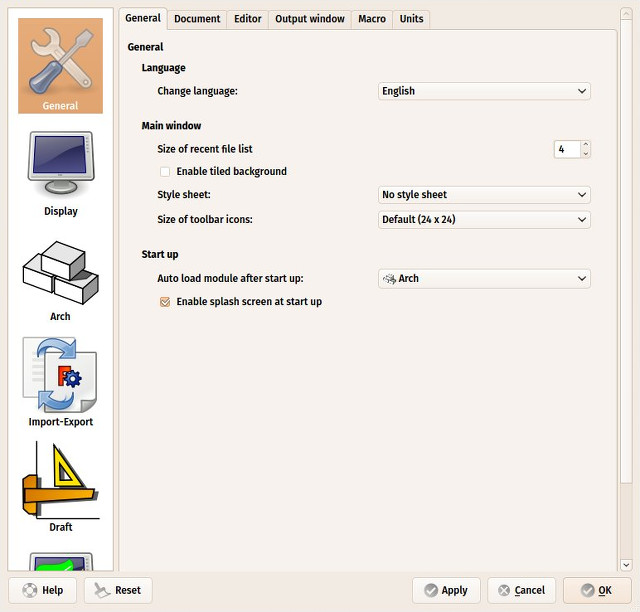
- Auto-load module: Normally, FreeCAD will start showing you the start center page. You can skip this and begin a FreeCAD session directly in the workbench of your choice. Workbenches will be explained in detail in the next chapter.
- Create document at startup: Combined with the option above, this starts FreeCAD ready for work.
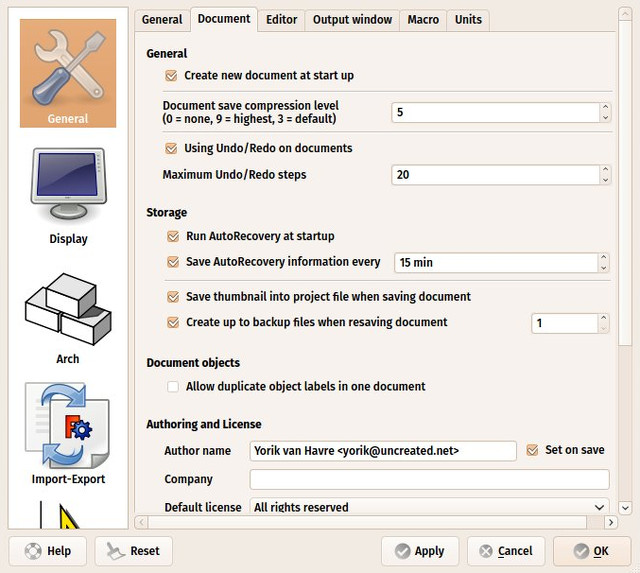
- Storage options: As any complex application, FreeCAD might crash from time to time. Here you can configure a few options that will help you to recover your work in case of a crash.
- Authoring and license: You can set the default settings that will be used for your new files. Consider making your files shareable right from the start, by using a friendlier, copyleft license like Creative Commons.
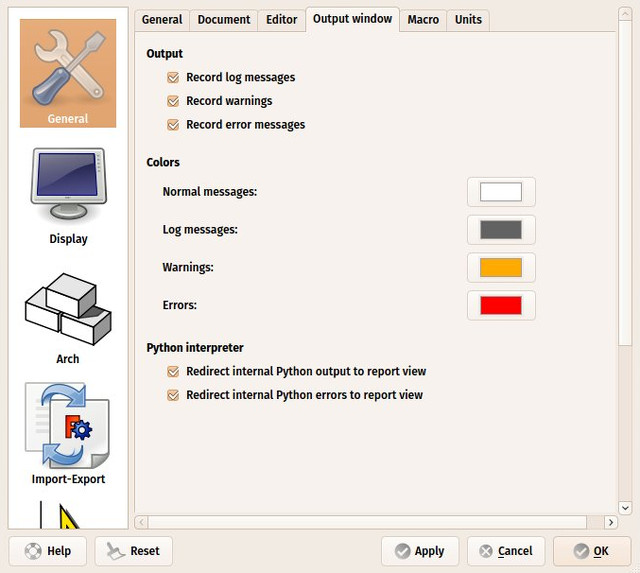
- Redirect python messages to output view: These two options are always good to mark, as they will permit you to see what's wrong in the Report View when there's a problem with running a particular python script.
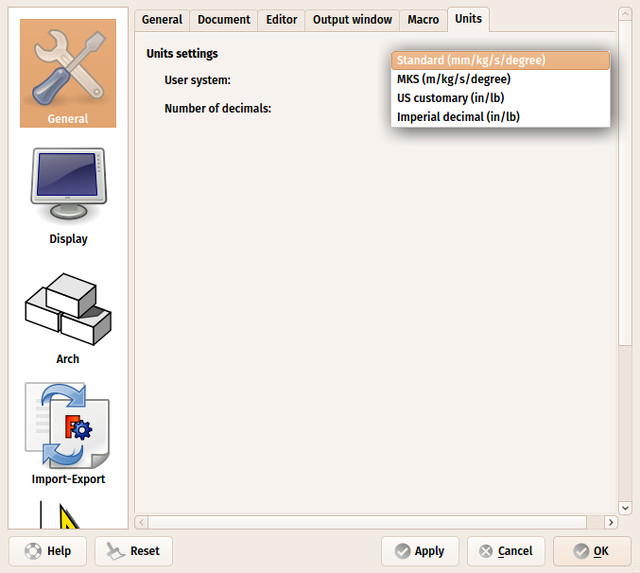
- Units: Here you can set the default units system you wish to use.
Installing additional content
As the FreeCAD project and its community grows quickly, and also because it is easy to extend, external contributions and side-projects made by community members and other enthusiasts begin to appear everywhere on the internet. There is an effort going on to gather all these interesting additions in one place, on the FreeCAD github page. There, among other things, you will find:
- A Parts library, which contains all kinds of useful models, or pieces of models, created by FreeCAD users that can be freely used in your projects. The library can be used and accessed right from inside your FreeCAD installation.
- A collection of addons, most of them additional workbenches, that extend the functionality of FreeCAD for certain tasks. Instructions for installing are given on each separate addon page.
- A collection of macros, which are also available on the FreeCAD wiki along with documentation about how to use them. The wiki contains many more macros.
If you are using Ubuntu or any of its derivatives, the FreeCAD-extras PPA contains most of these addons. On other platforms, any of the addons, including the Parts library, can easily be installed using an addon-installer macro provided in the addons repository. The following procedure shows how to install the addon-installer (other macros can be installed the same way)
- Download the addons-installer.FCMacro file from https://github.com/FreeCAD/FreeCAD-addons by clicking it, then right-clicking the "RAW" button, and choosing "Save as".
- Place the macro in your FreeCAD Macros destination path. You FreeCAD Macros destination path is indicated at the bottom of the Execute macro dialog in FreeCAD:
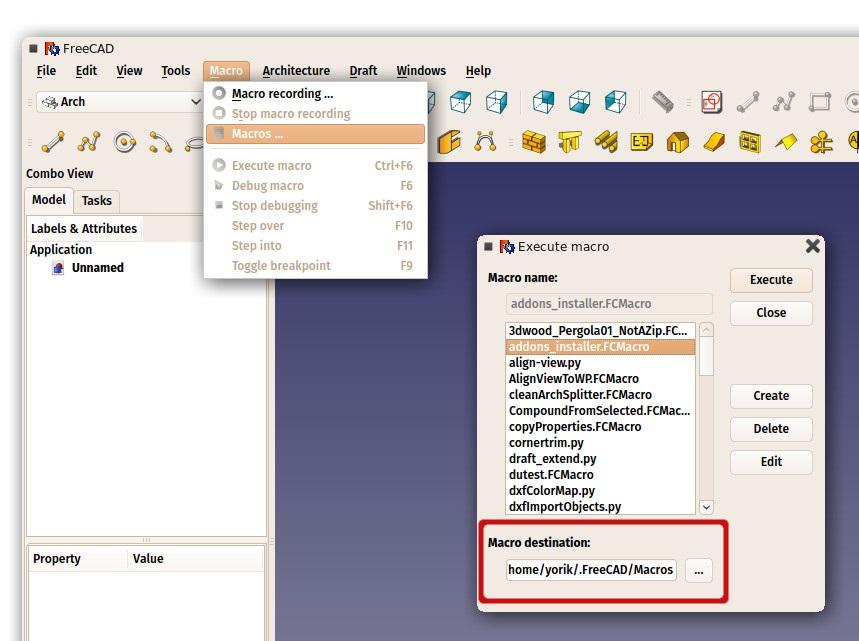
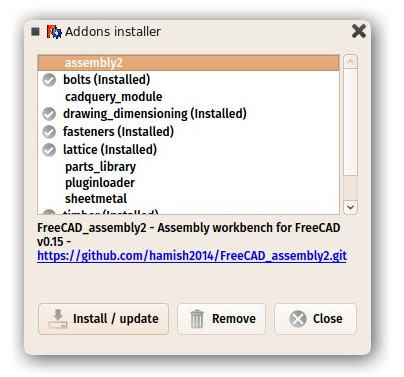
- Close and reopen the Execute macro dialog, and start the addons_installer.FCMacro. The installer will launch, from where you can install, update and uninstall any of the addons:
De citit în plus